BLOG
|
>>Posts about artists relevant to my work >>Posts about my works as they are made >>Commentary on issues in the art world >>posts reflecting on art events and activities |
|
5/19/2019 0 Comments Process Post 18Here are some pics of the materials and process I used to develop my color slide film at home
0 Comments
5/14/2019 0 Comments Process Post 17
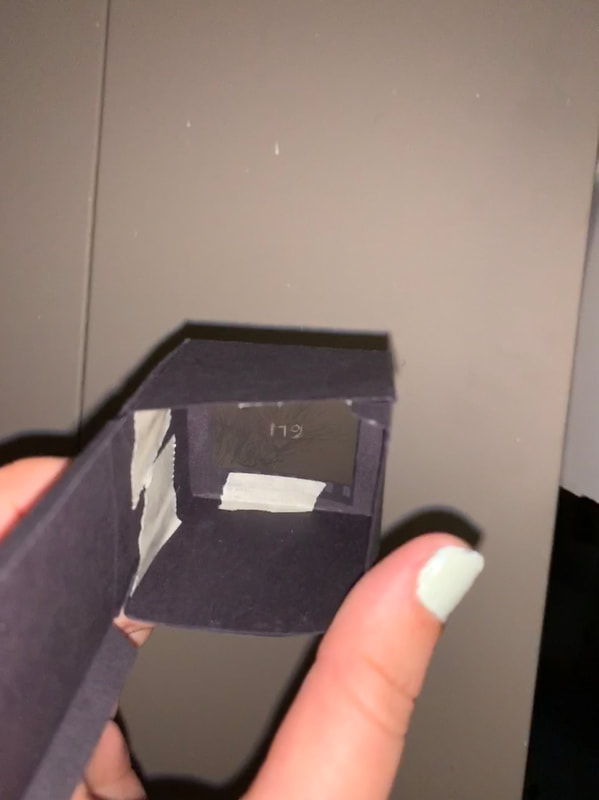
I was able to experiment with making models with negatives and black and white, and I am extremely happy with how my first pictures turned out. I was able to learn a lot, but am still having some trouble cutting out my numbers, and I'll have to figure out something else to do instead, possibly with using leather presses. I recently ordered my color slides, and am excited to start learning how to use the chemicals. I plan to go to the VMFA or Maymont to find people to take pictures of, and hopefully I can develop them properly, and if not, I have two sets of film. If not, I have enough back up developed to still carry out my idea.
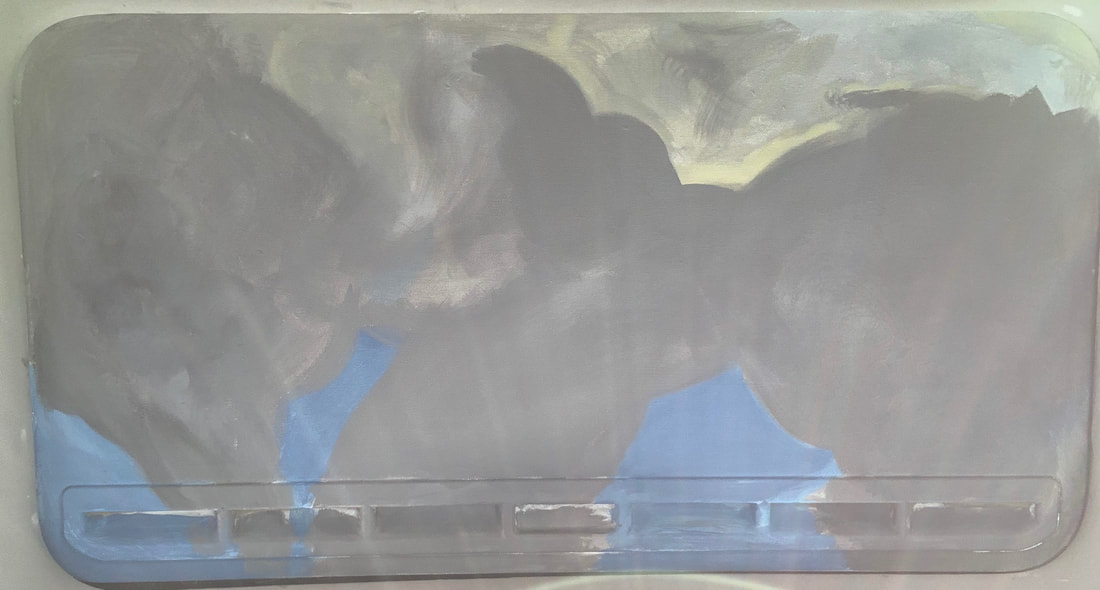
4/15/2019 0 Comments Process Post 16Instead of doing six prints I decided to do four, not only because each took time to cut out, but I realized that for each individual print I needed to cut out more than one sheet of linoleum in order to get the proper layering of the colors. Despite this, I'm pretty happy with how the prints are turning out so far, especially with me only using a couple colors. I have been painting on the ink, which may have caused it to be a little thick on some of the prints, but I found this was easier to make the gradient effect that I wanted than using a brayer, especially as I had only cut out a few linoleum sheets. Also, I plan to do more experimenting with two layer prints, as I had forgotten that I had cut out the sky in most of my prints and didn't want a white outline around each of the pieces of the scene. For now, I am leaving them to dry.
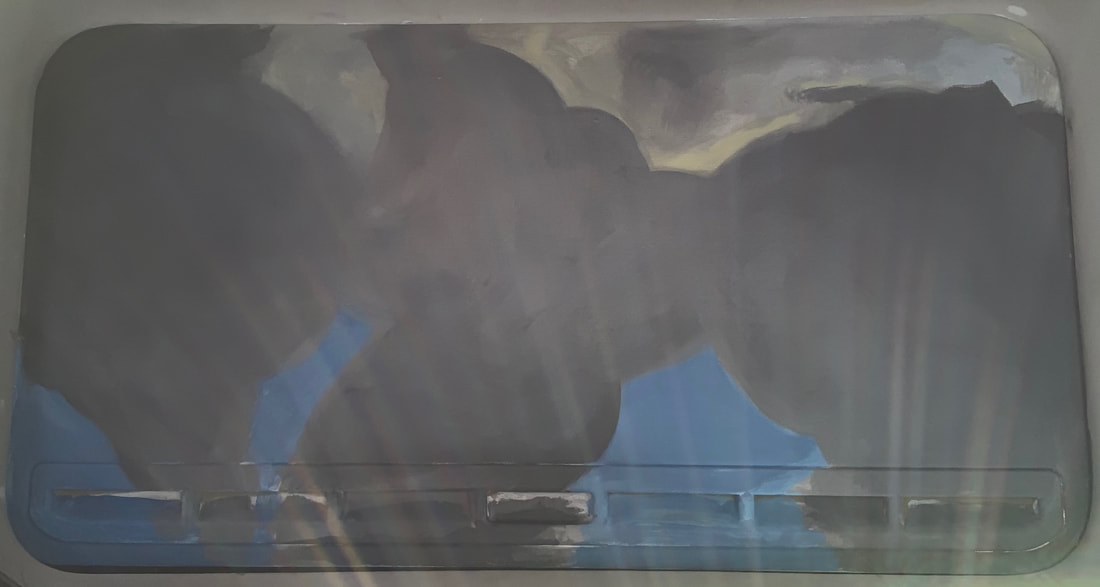
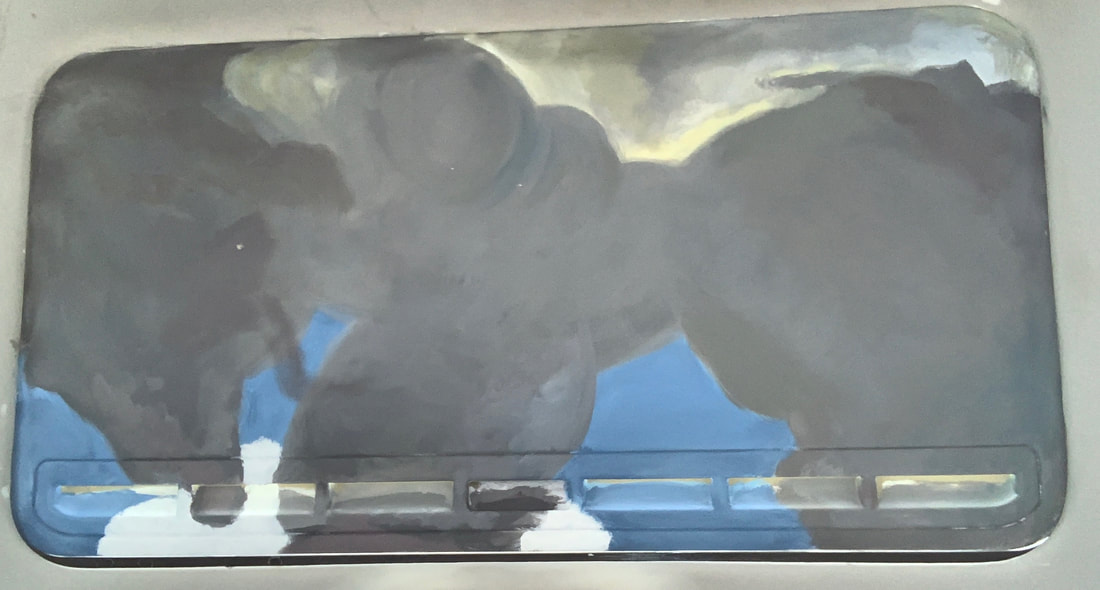
UPDATE: I printed the double layers the next morning and found that in some spots the colors were too dark to be seen clearly. I'll do some more experimenting soon and try something new I think. UPDATE UPDATE: I decided to print some using my car, per Coach's idea, and I think they turned out better than me printing normally. I was pretty excited to try this way of printing and was not disappointed. 3/25/2019 0 Comments Progress Post 15It's that time of the quarter again... Time for another photo dump! Although this project isn't quite done yet, I'm really looking forward to finishing it and maybe even adding to my car's headliner over the next year. Just to add some more character.  3/15/2019 0 Comments Progress Post 14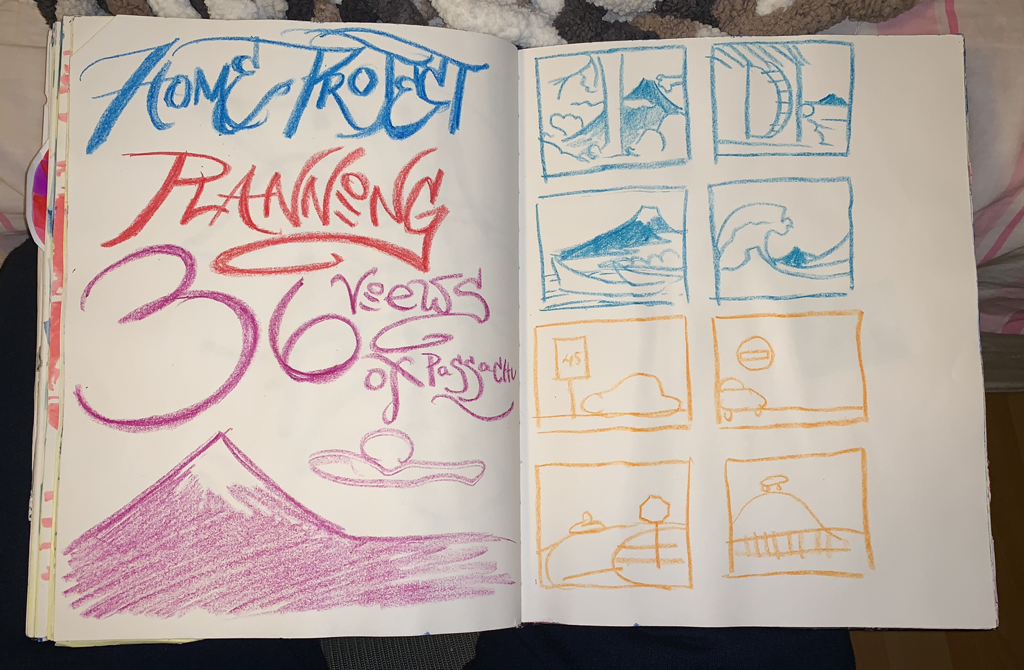 I’m excited to start on my next project this quarter—one that will end up taking a lot of work. My plan is to make linocuts of my car in different views around Richmond in a similar fashion to Hokusai’s 36 views of Mount Fuji. Although I know I won’t be able to get all 36 done before critique, I aim to have at least 3-5 by then. The content will probably come to me later on, but this is idea is connected with my photo project that will cover more ground and require more daylight.
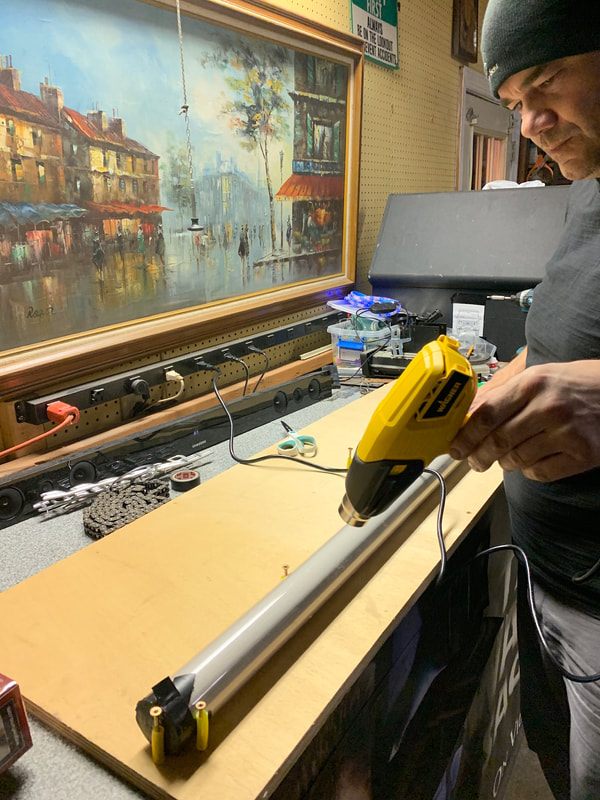
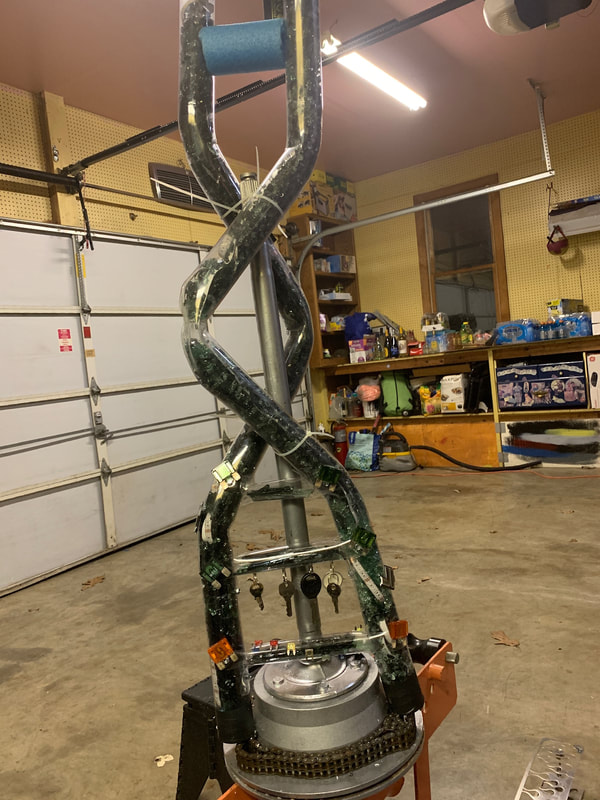
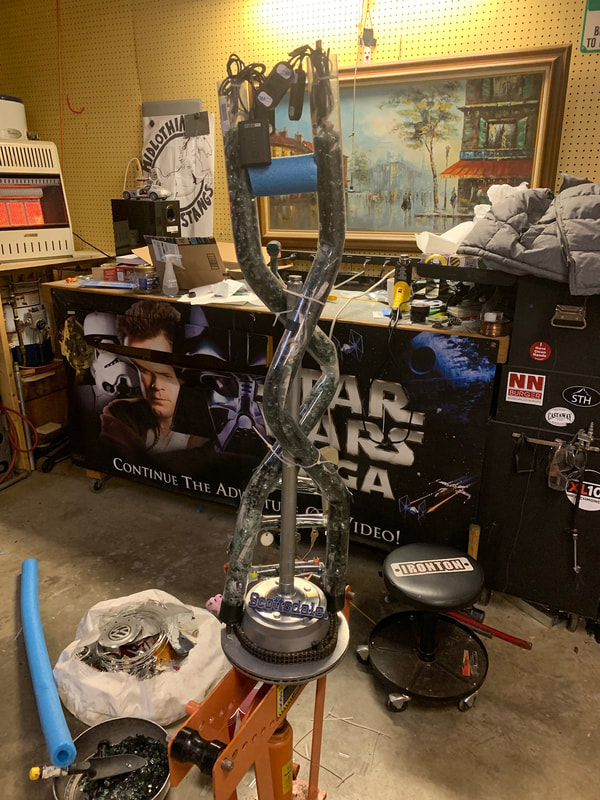
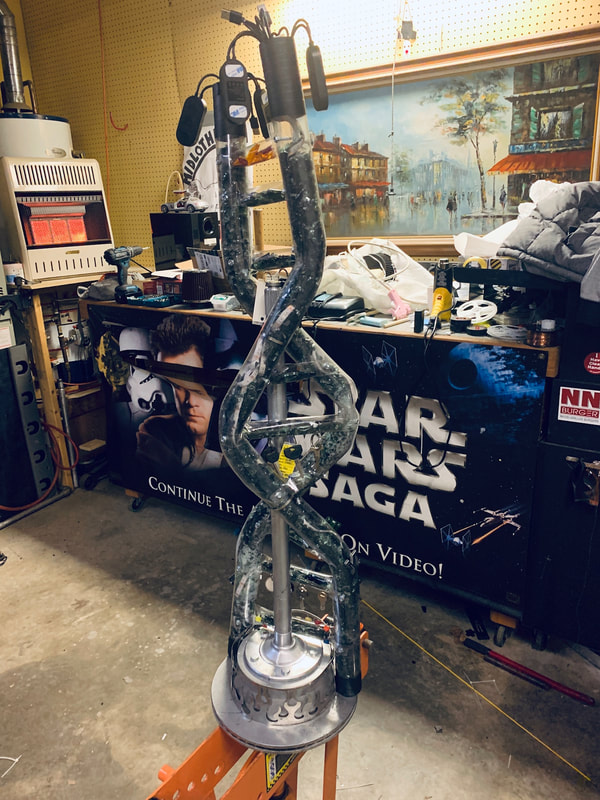
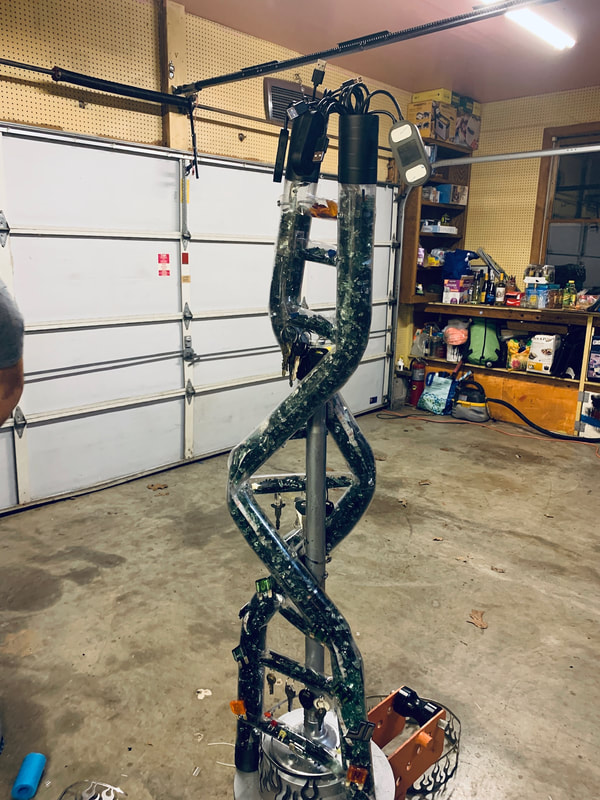
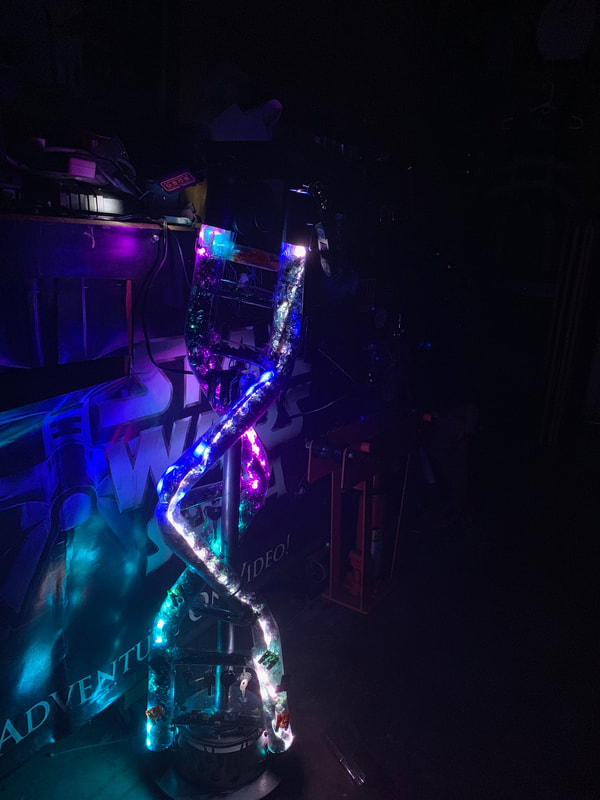
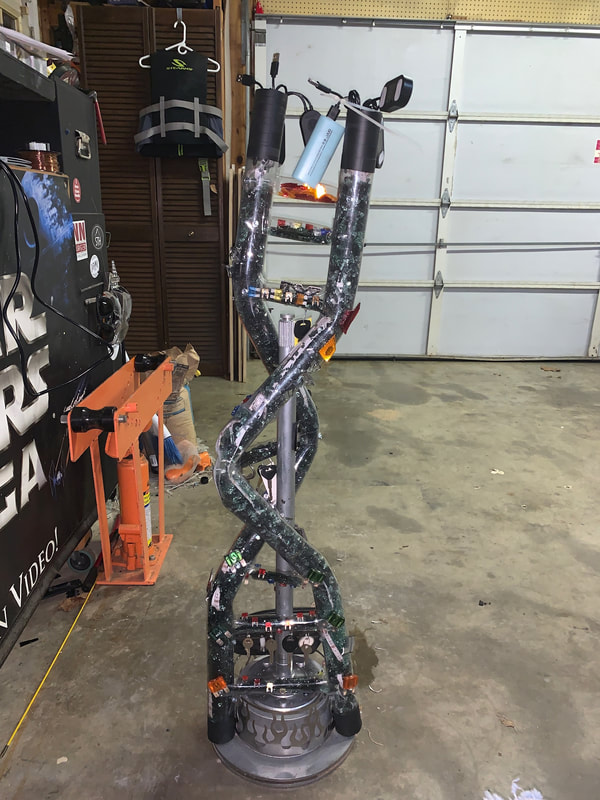
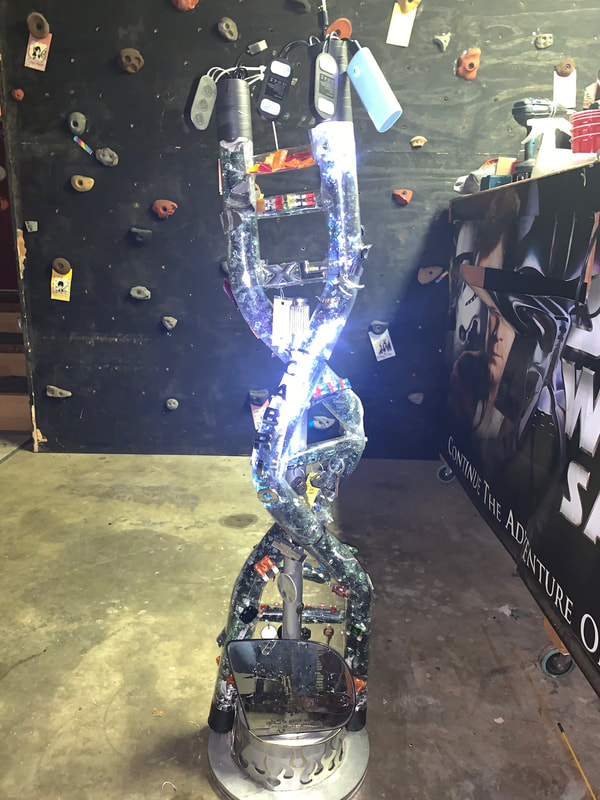
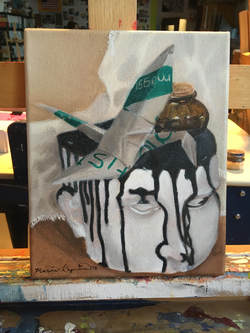
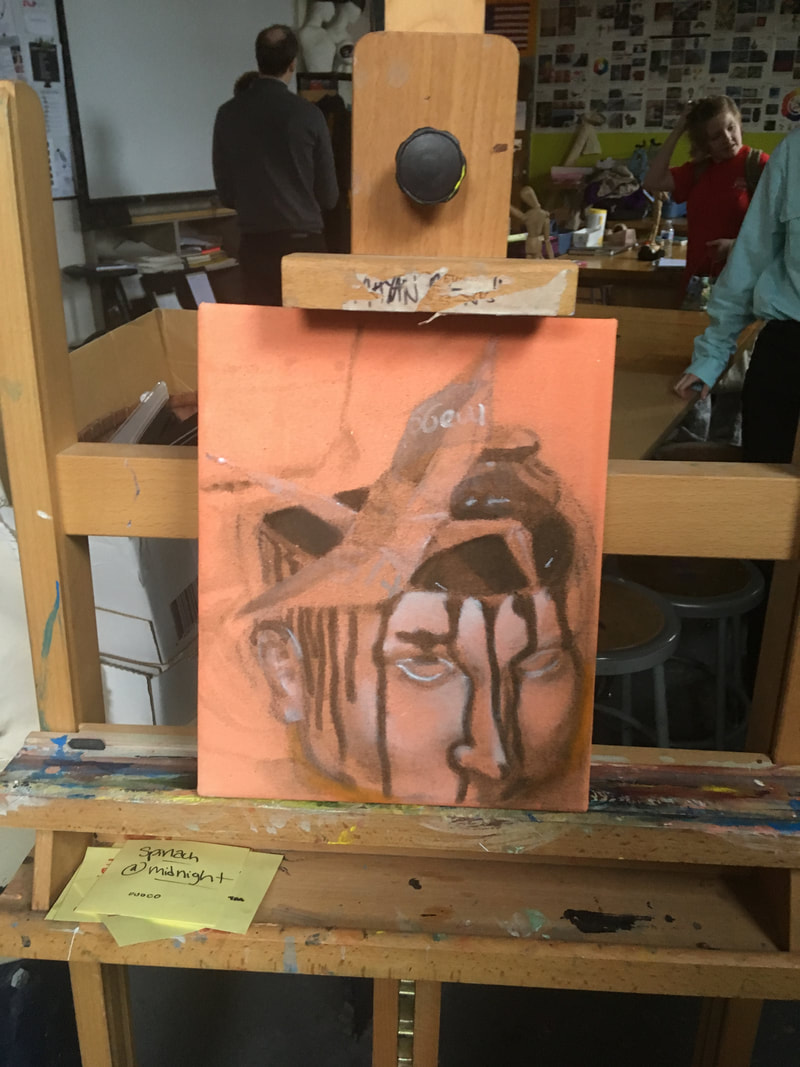
2/22/2019 0 Comments Progress Post 13As per usual, here is a photo dump of the process of creating my sculpture project for this quarter. I really enjoyed getting to work with different techniques, including pipe bending and LED strips, junk yard visits, breaking glass, and using a heat gun. 1/22/2019 0 Comments Progress Post 12As for the second painting, there was quite a journey to the final piece, all of which took place in a short period of time. However by the end of it, I was very happy with how it turned out and even think it is better than what it would have been had I not had to redo it.
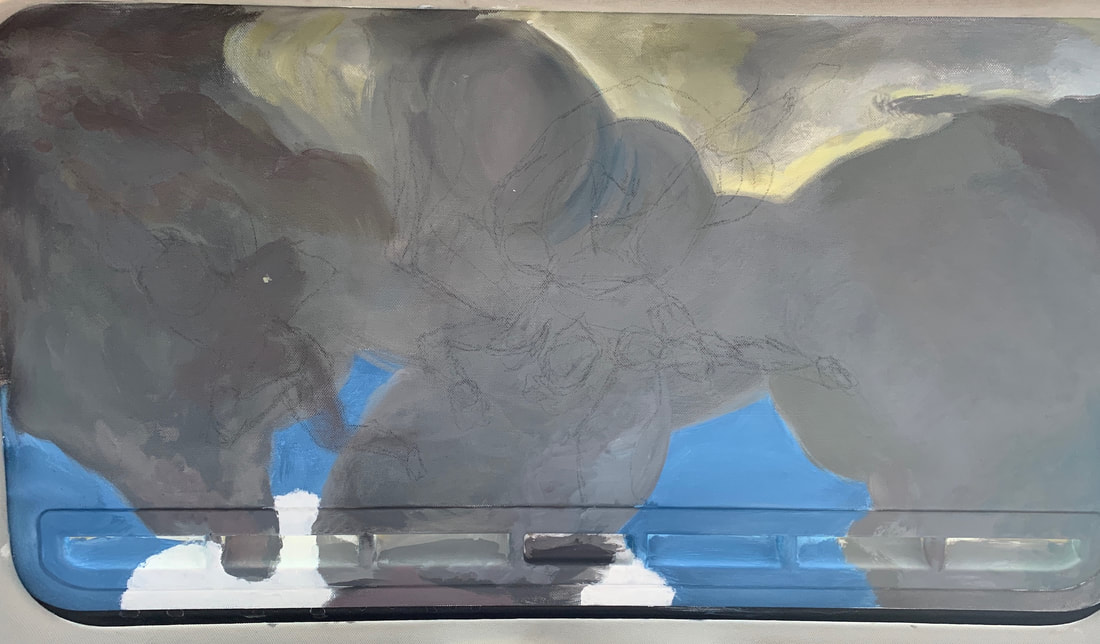
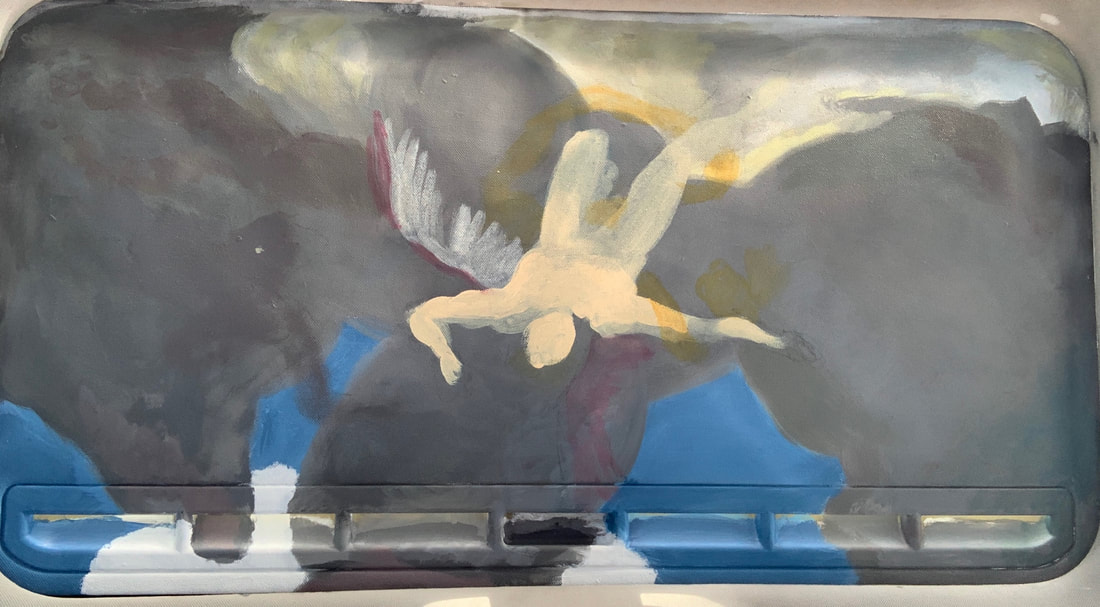
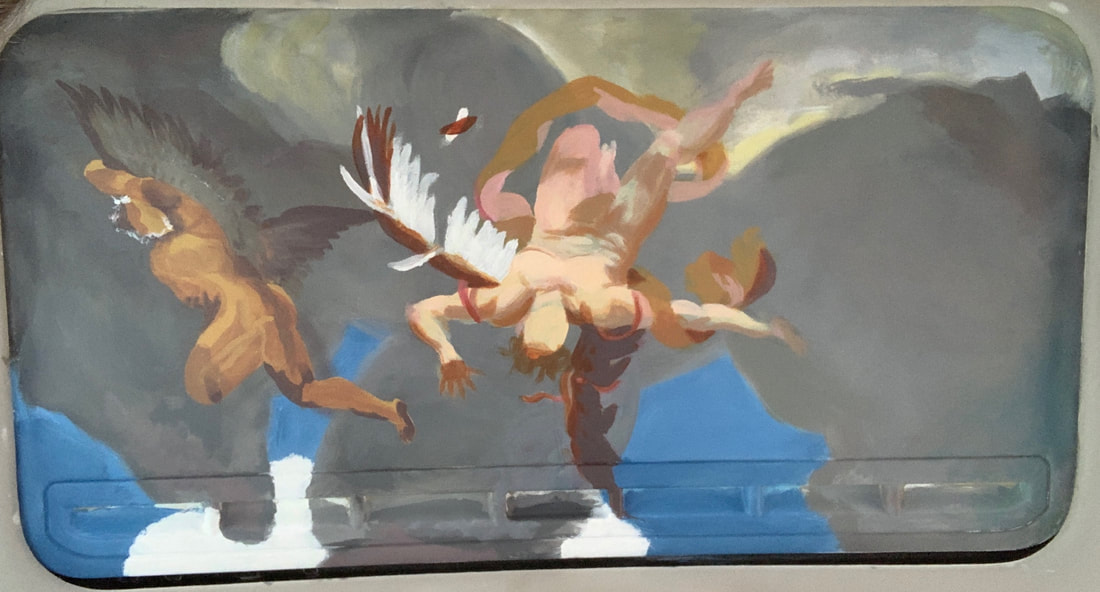
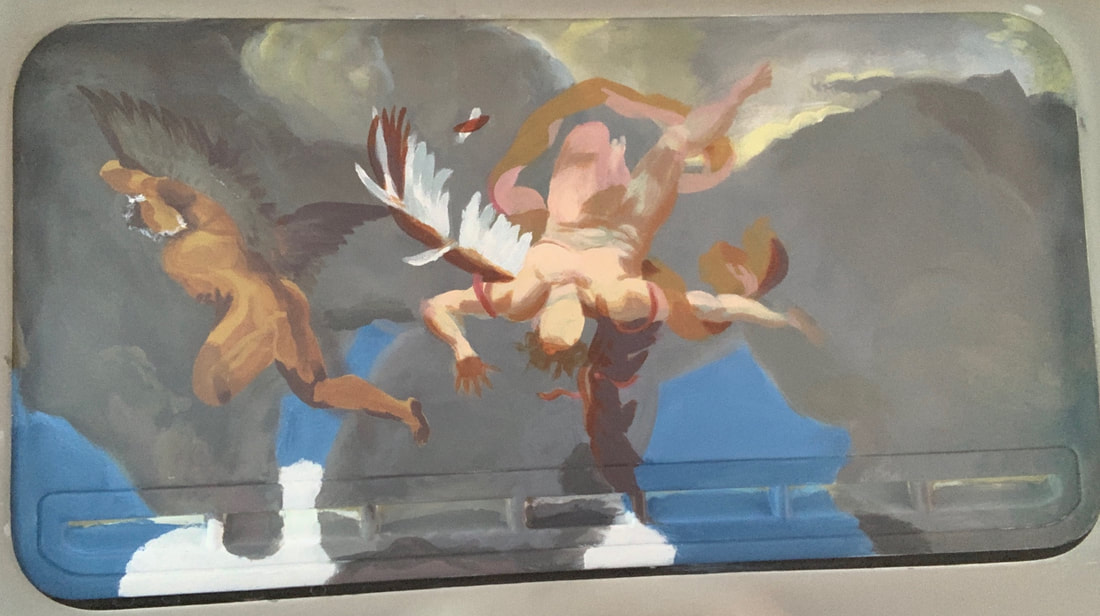
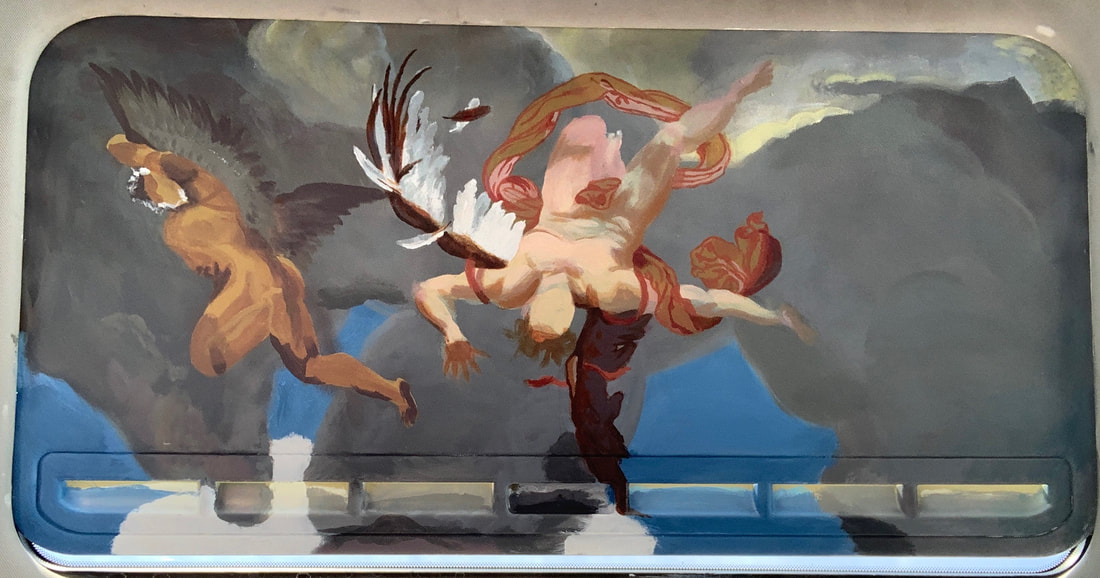
1/17/2019 0 Comments Progress Post 11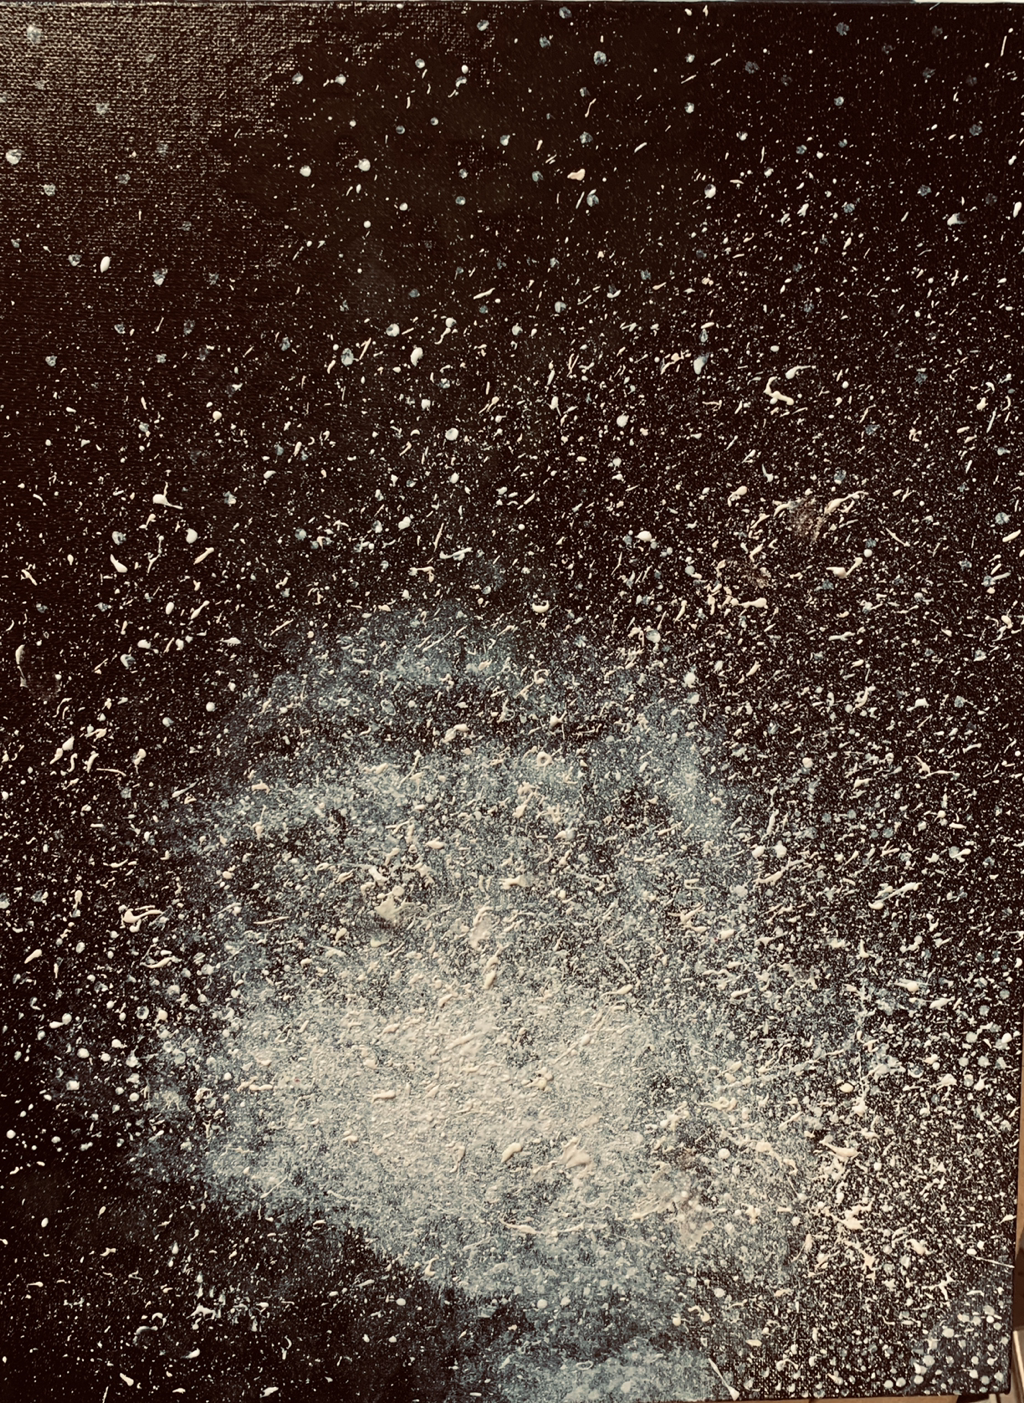 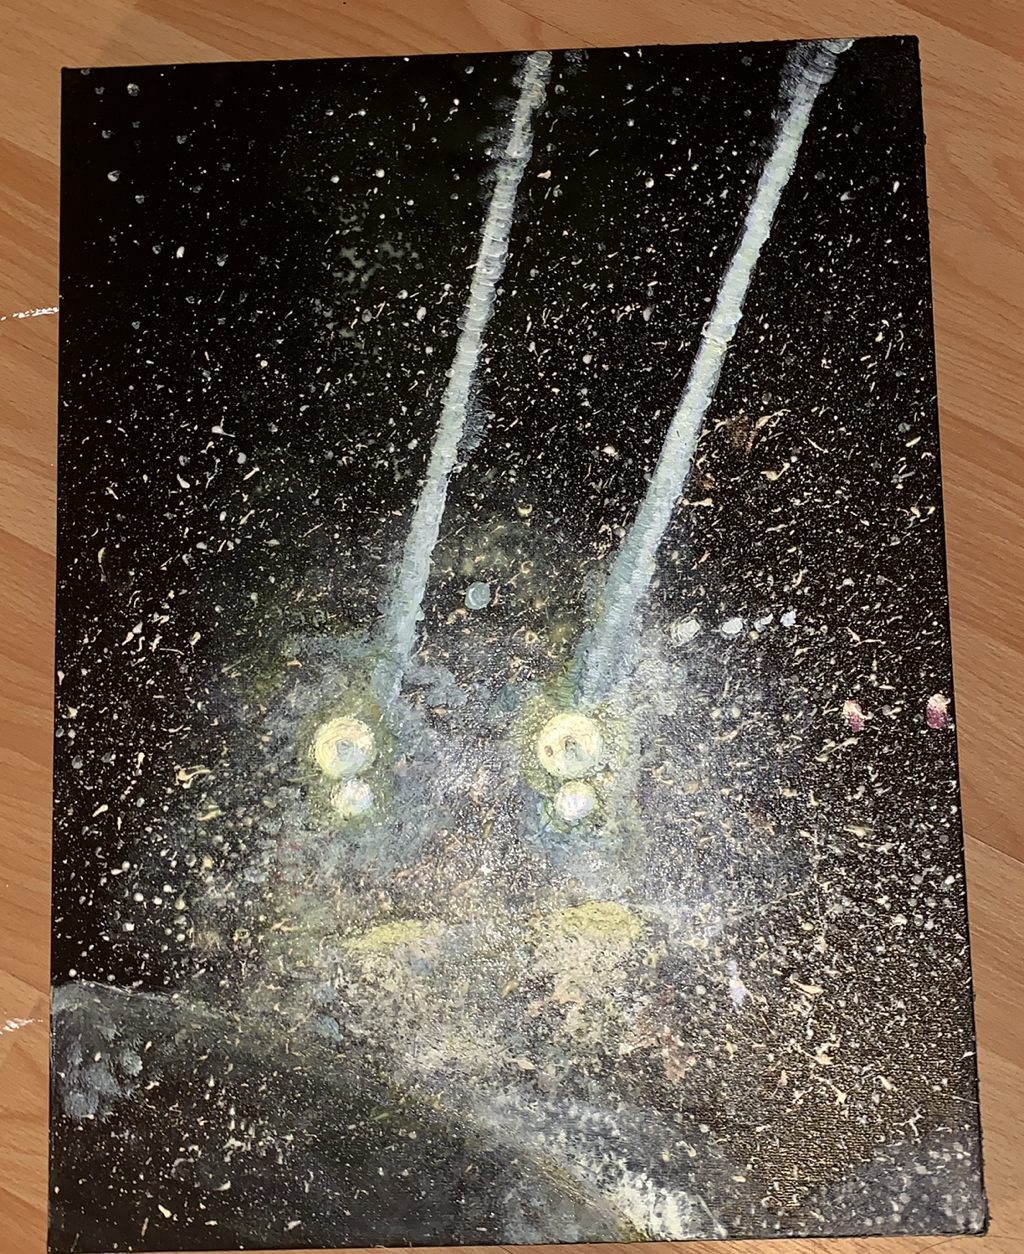 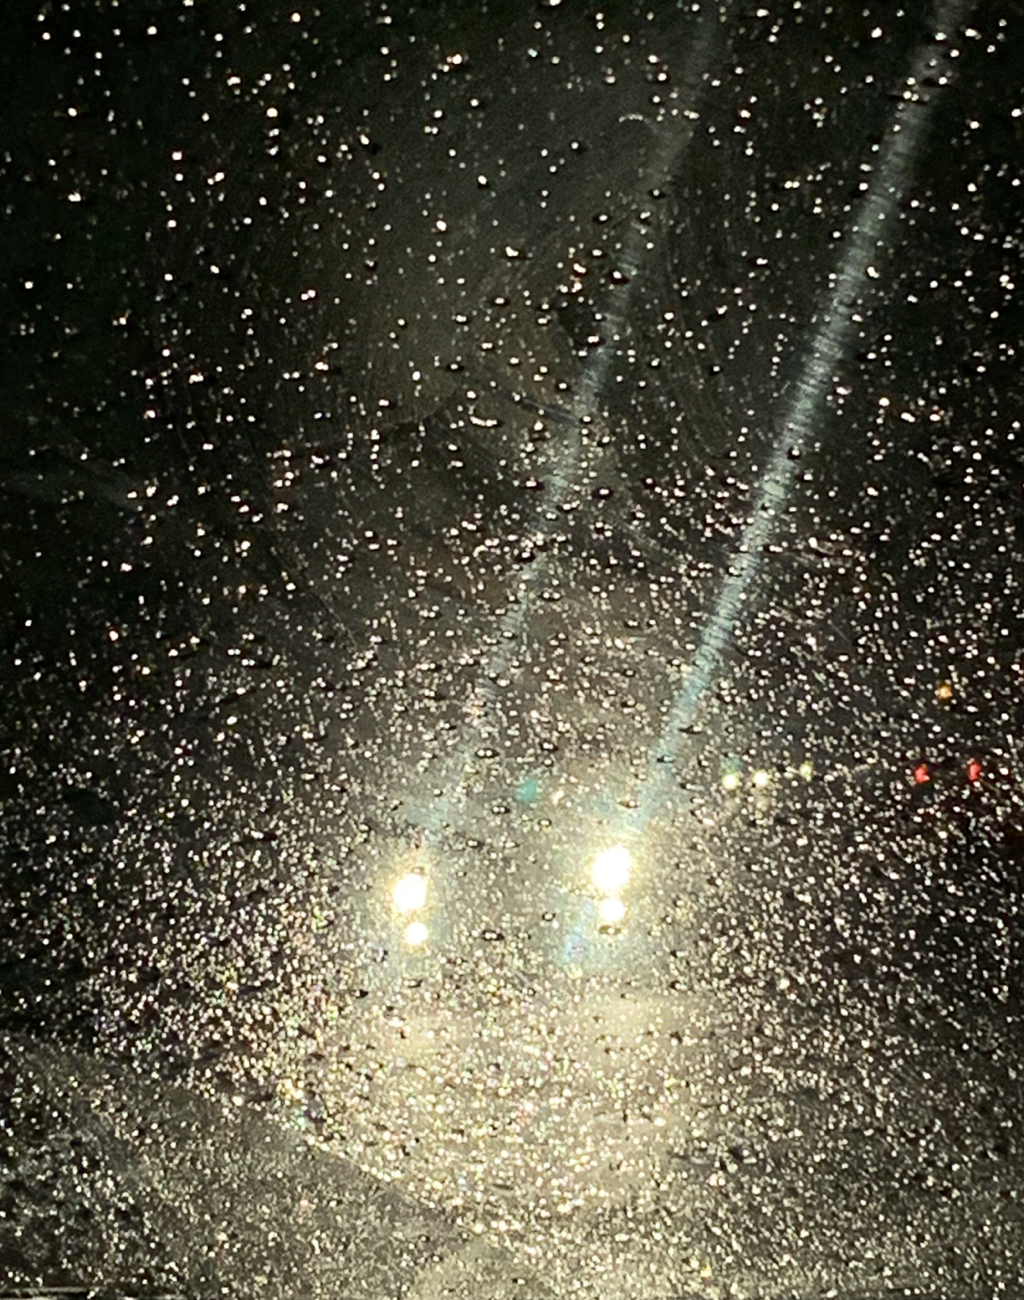 I didn’t have so many pictures of this first painting because I worked on it in big intervals. After looking at the finished product, I realize I could have improved my composition, had I not been so stuck on recreating the picture. Now I’m off to work on the second painting, which should work as a pair to this one.
1/7/2019 0 Comments Progress Post 10I think for my next project I definitely want to do something like in Fahrenheit 451, where the author describes how when people constantly drive they begin to identify things as streaks of color and lose their details. Although I was hoping to do something with parts from the junkyard, it’s unlikely that I will be able to by the deadline so I want to do abstract paintings instead. This time I’ll make sure my base material is neat so as to support the work rather than detract from it. Also, I don’t know how I will incorporate light into this one, but I did buy a blacklight for pictures of my other work. 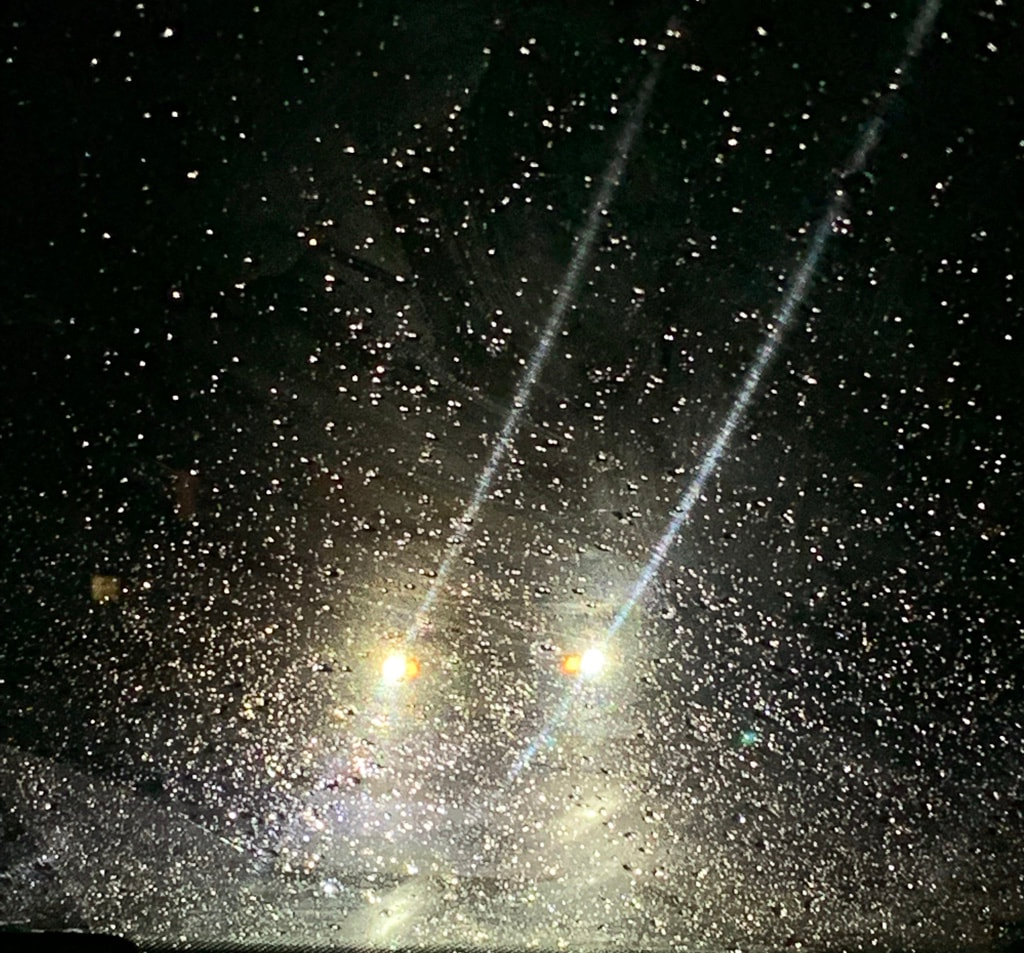 12/10/2018 0 Comments Progress Post 8Ive finished my first painting and am working on the remaining three during the snowdays. I’m pretty sure this First blue one will probably stay my favorite, just because of the detail and it’s interesting composition. Although I started with acrylic on it, I moved to watercolor so I wouldn’t have to mix colors as often and because it is usually easier to layer and create smooth spots with. I look forward to painting these and am still thinking about how to incorporate light into them as my running theme.  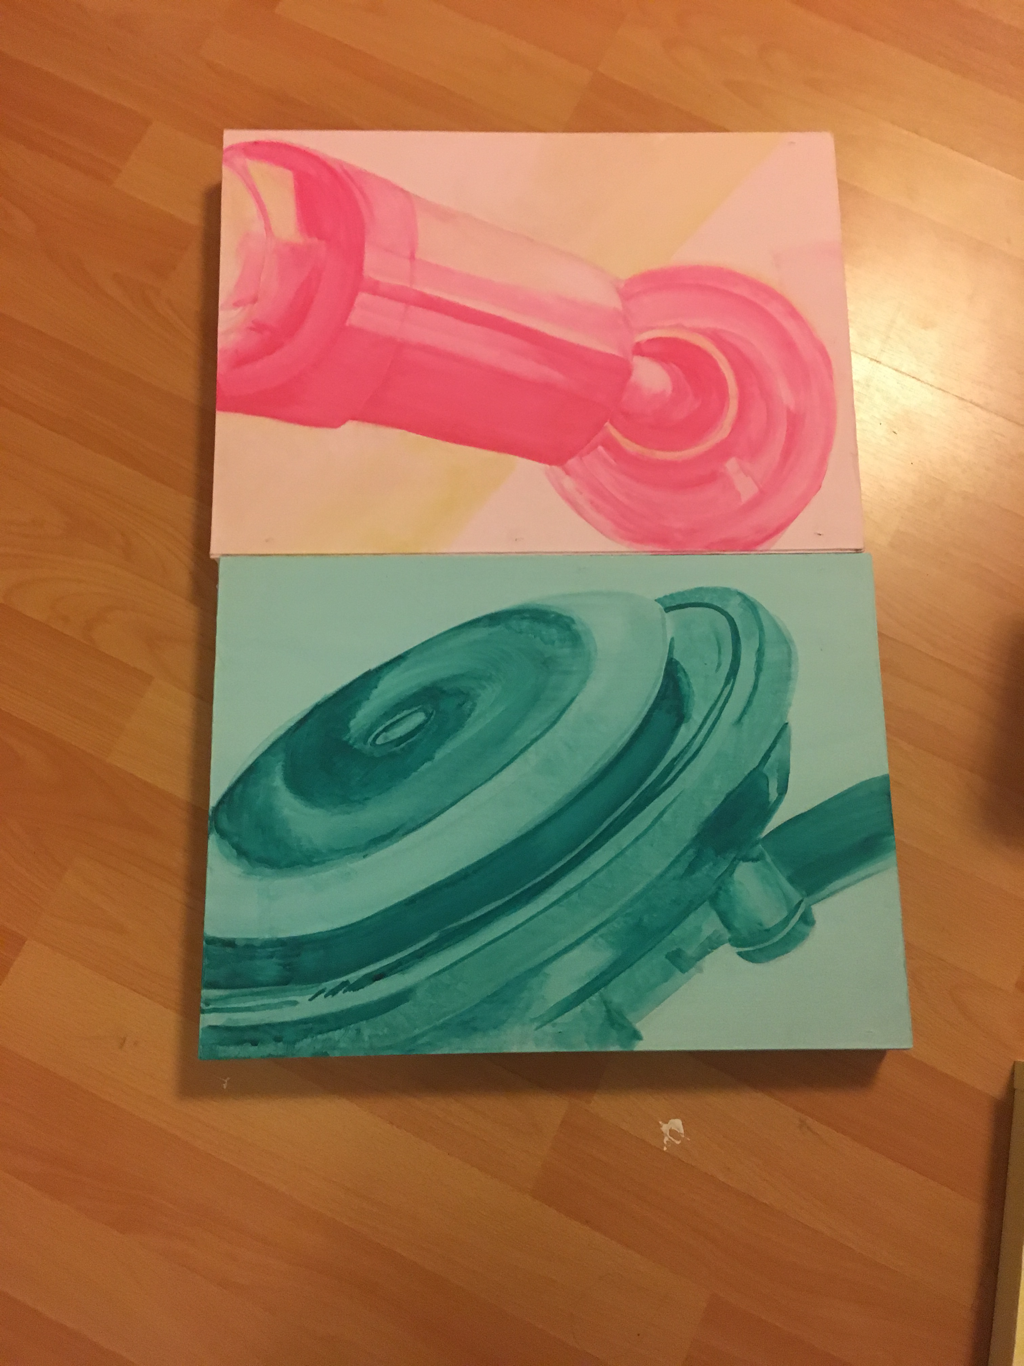  12/10/2018 0 Comments Progress Post 9Ive finished three of the paintings (I’m still not satisfied with the pink one and am working to push shadows and create contrast) and am pretty proud of myself. The whole process has been interesting—from making wood panels out of vinyl flooring to priming and finally painting with watercolor, I think this was a good direction to take and am excited to see what I plan to do for my next project. 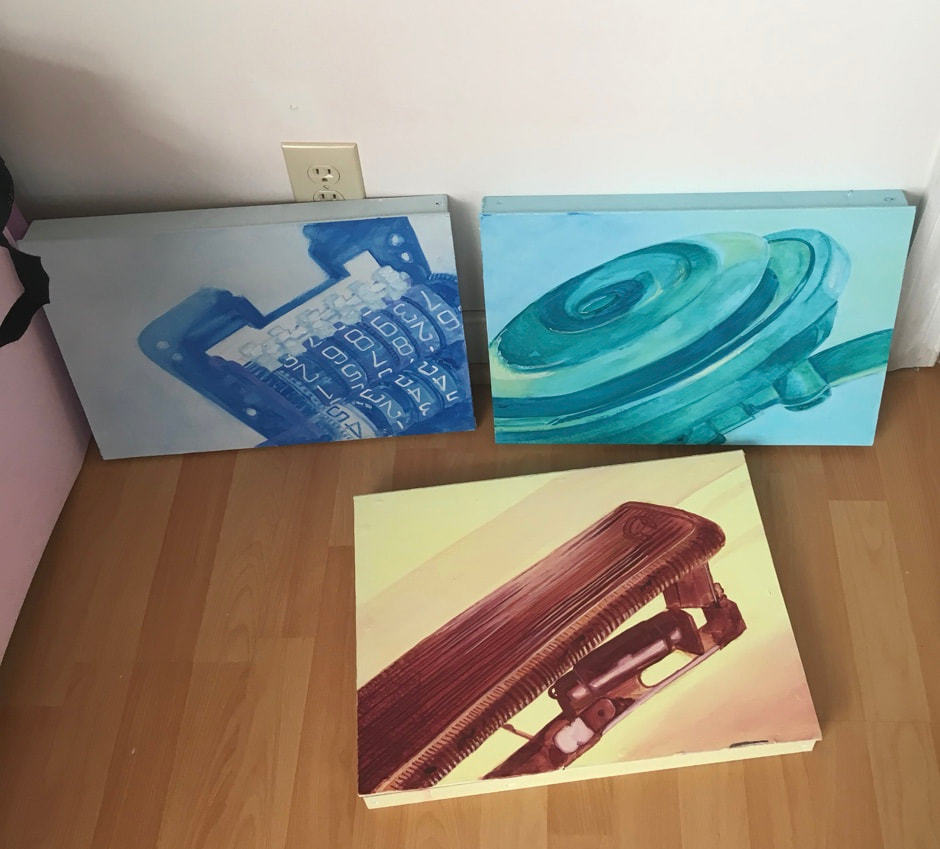 12/8/2018 0 Comments Progress Post 7These are the final shots that I decided I will be painting. I edited them to emphasize contrast and shadows because I want to paint using arbitrary colors and this allows for an easier transfer. 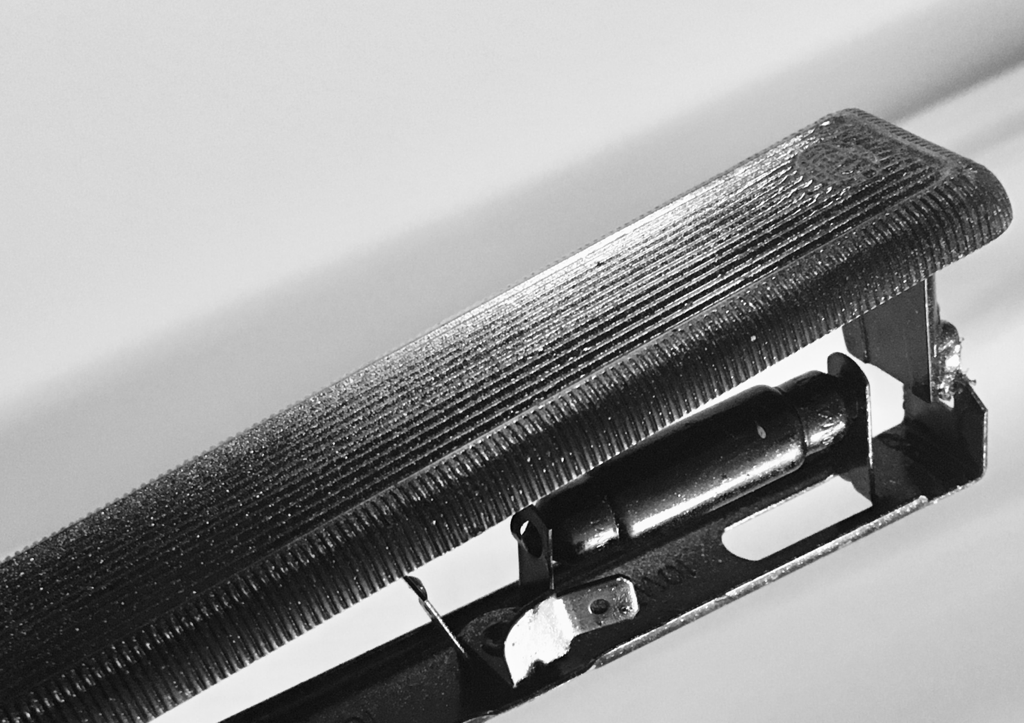 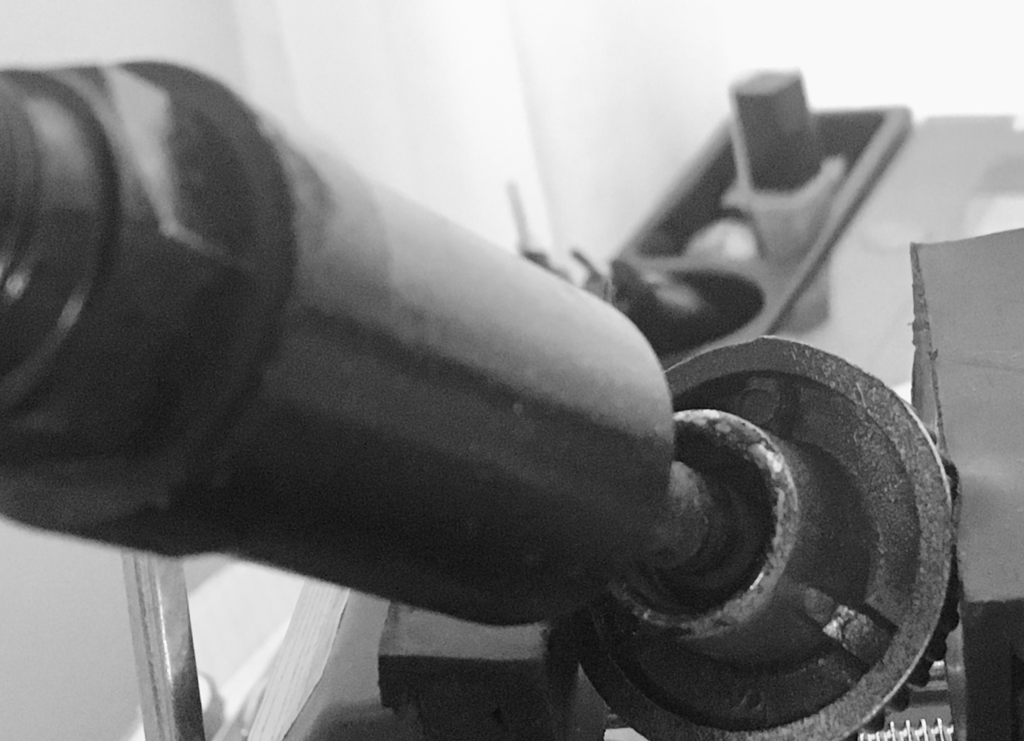   11/30/2018 0 Comments Progress Post 6So far I've only laid the base coats on my four homemade wood panels. Although they're a little rough around the edges, I think once I paint on them the overhang shouldn't detract from the work. Also, I've been taking pictures of my subjects from different angles and messing with different compositions, which is a concept I really want to improve on with these works.  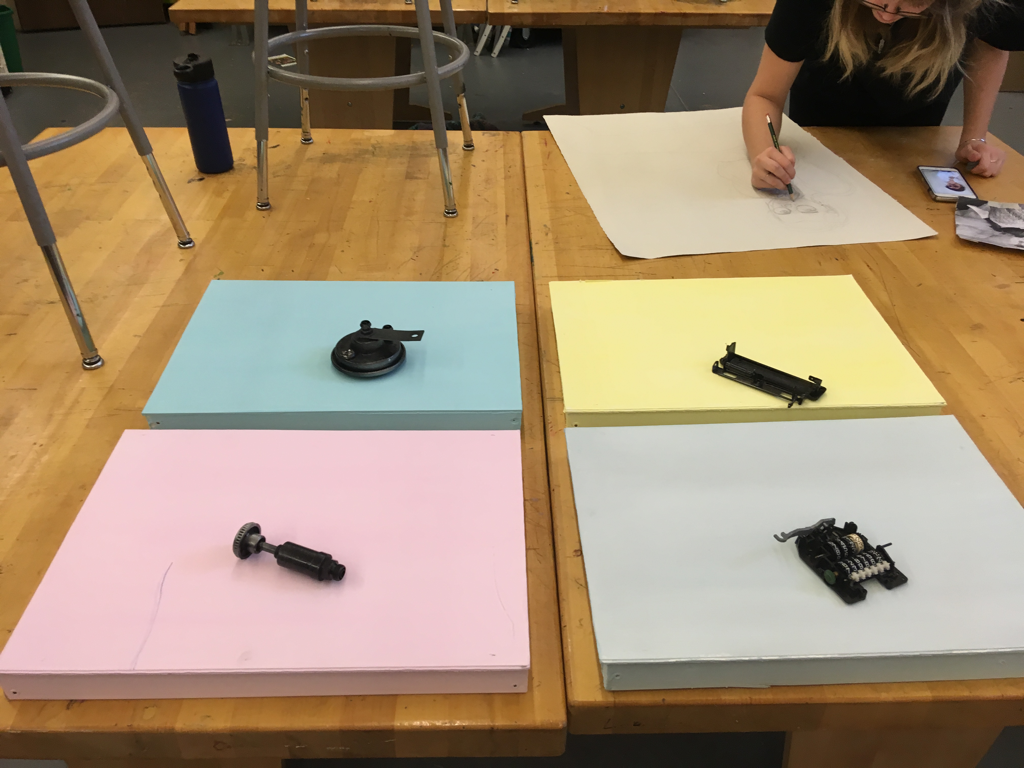 10/26/2018 0 Comments Progress Post 4Although I wasn't able to snap a picture of one of my recent longer-time-length figure studies, I definitely found the practice useful. Throughout the figure drawing days, I tried to forget what I thought I knew about drawing to listen to what Tommy had to say on the matter. However I think with the longer the drawings got, I was unable to focus on what I saw in front of me and found my "finished" pieces to be unsatisfactory. If I continue to sketch figures in my sketchbook and take breaks to fully absorb what I learned, I think my skills will definitely improve and show themselves in my work. Overall I am grateful that we had these workshops now, so I can grow over the course of this year and achieve one of my goals of becoming better at observational drawings.
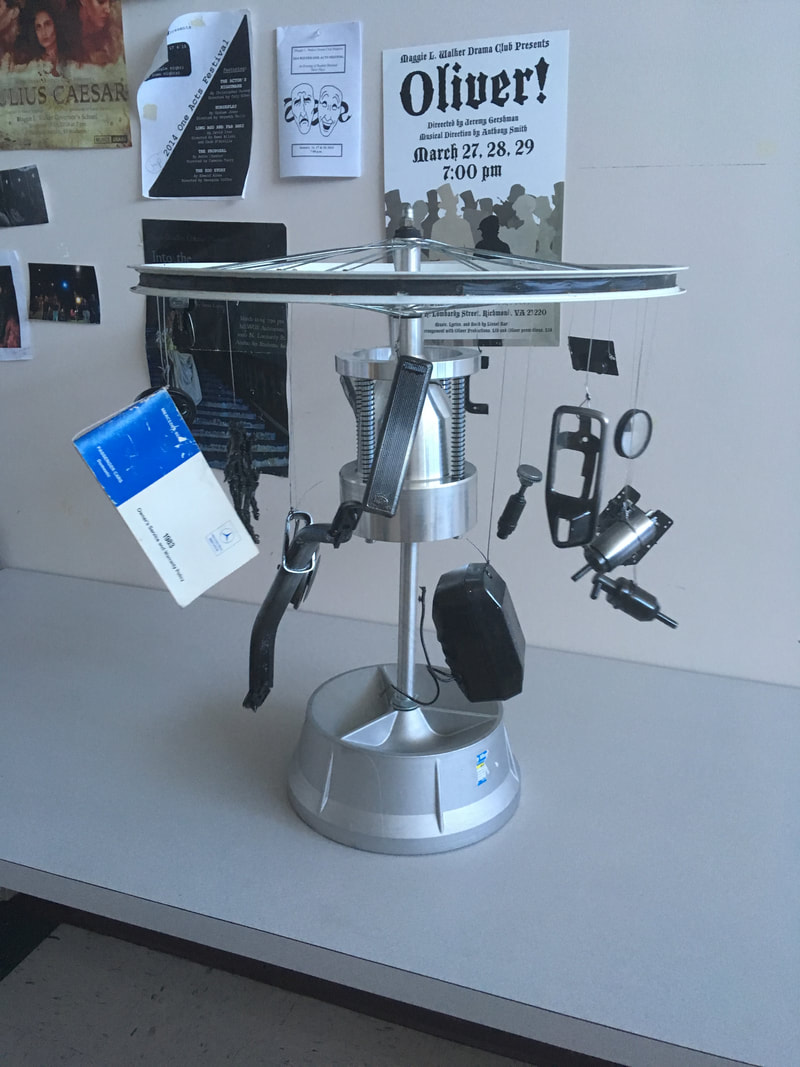
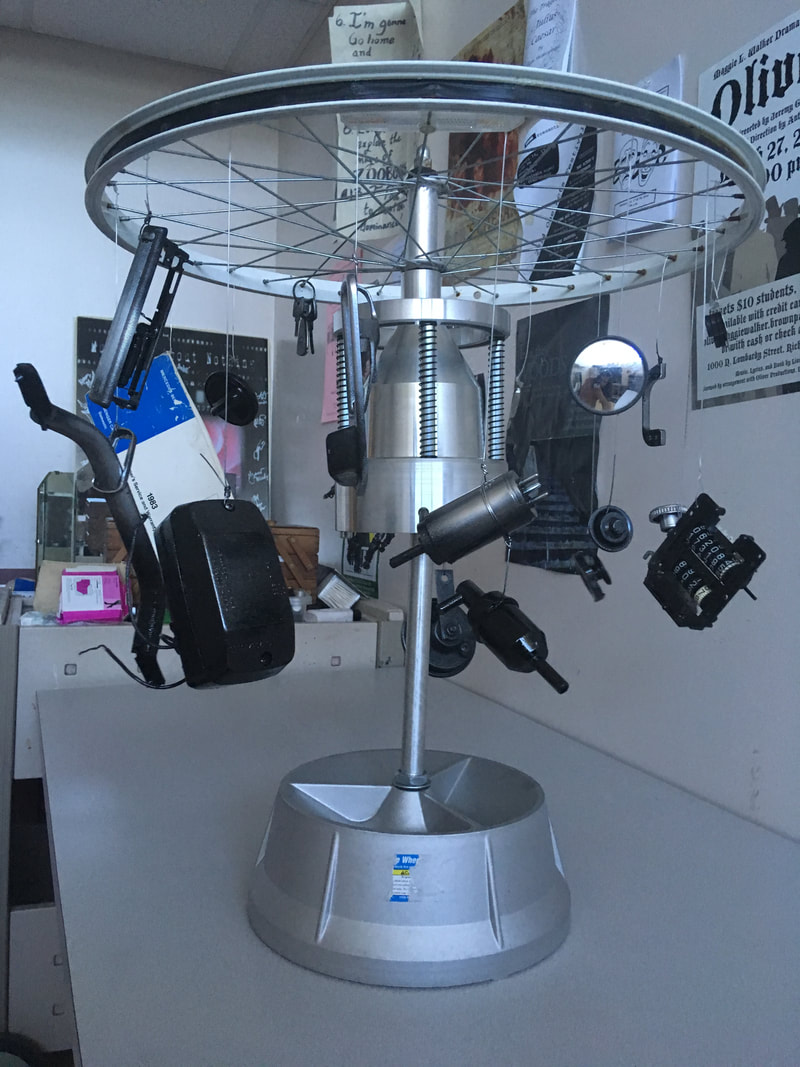
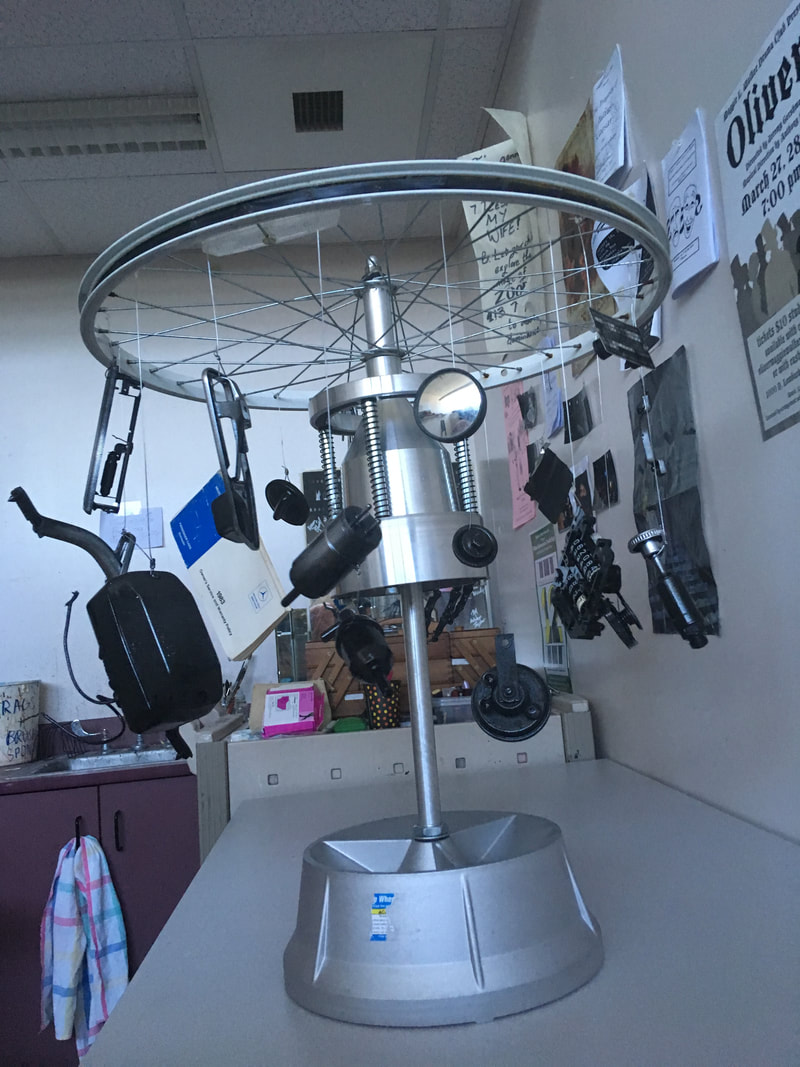
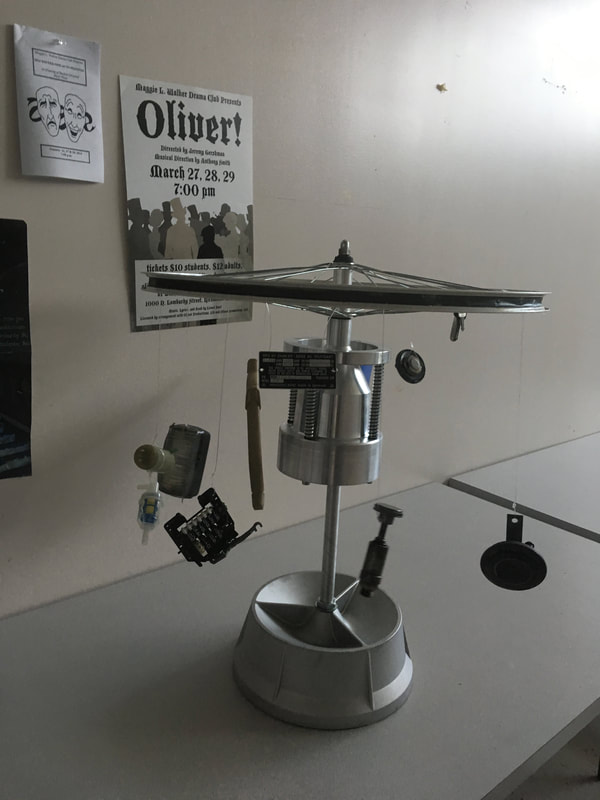
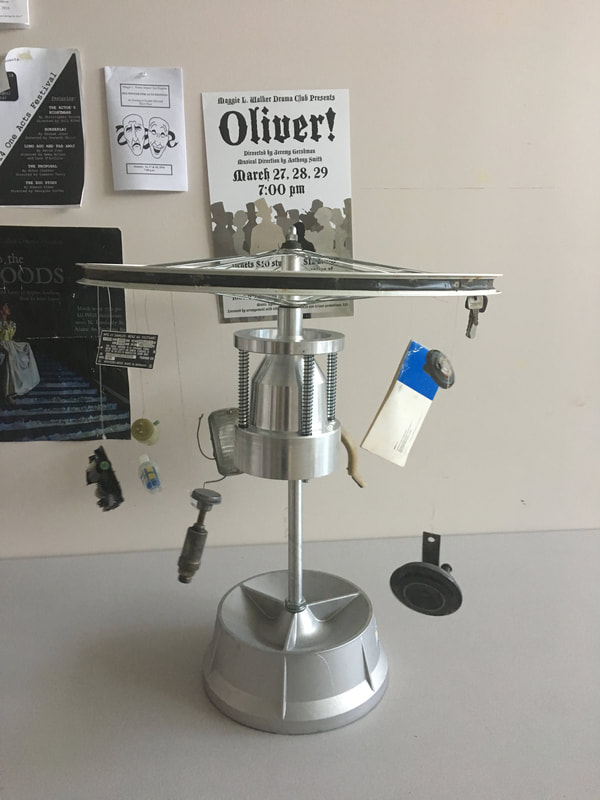
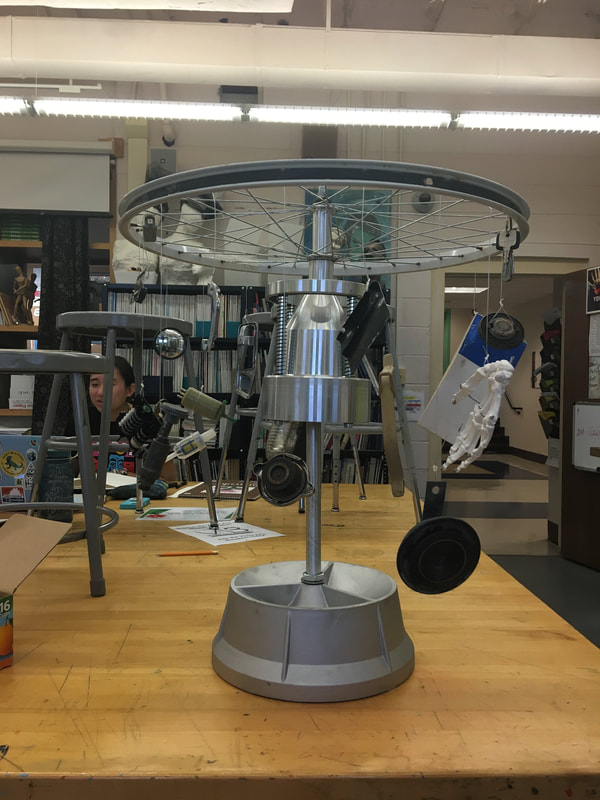
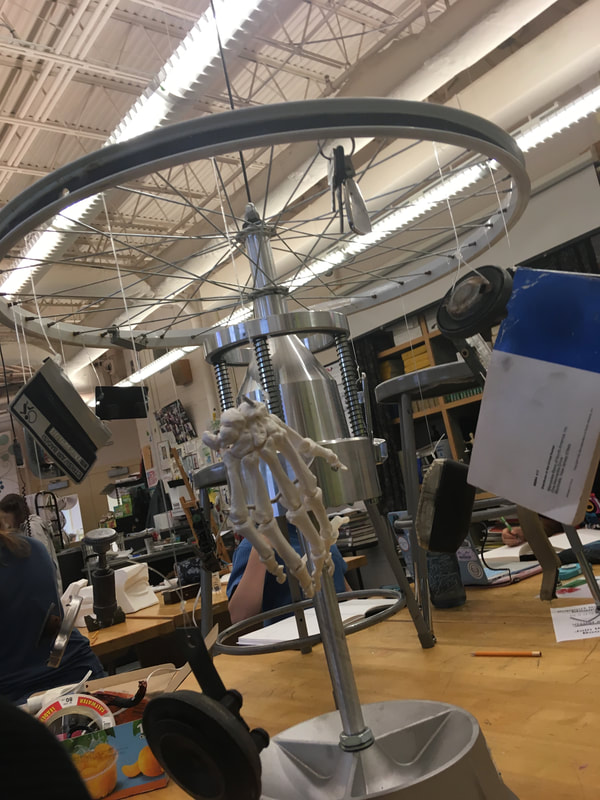
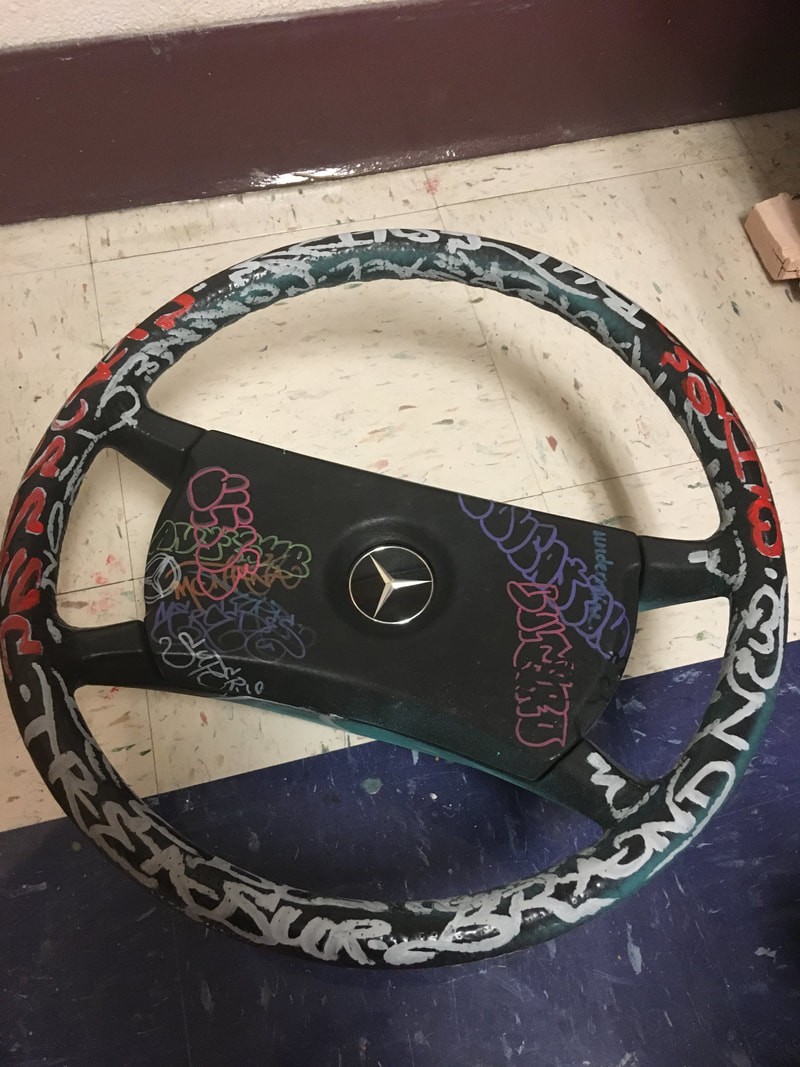
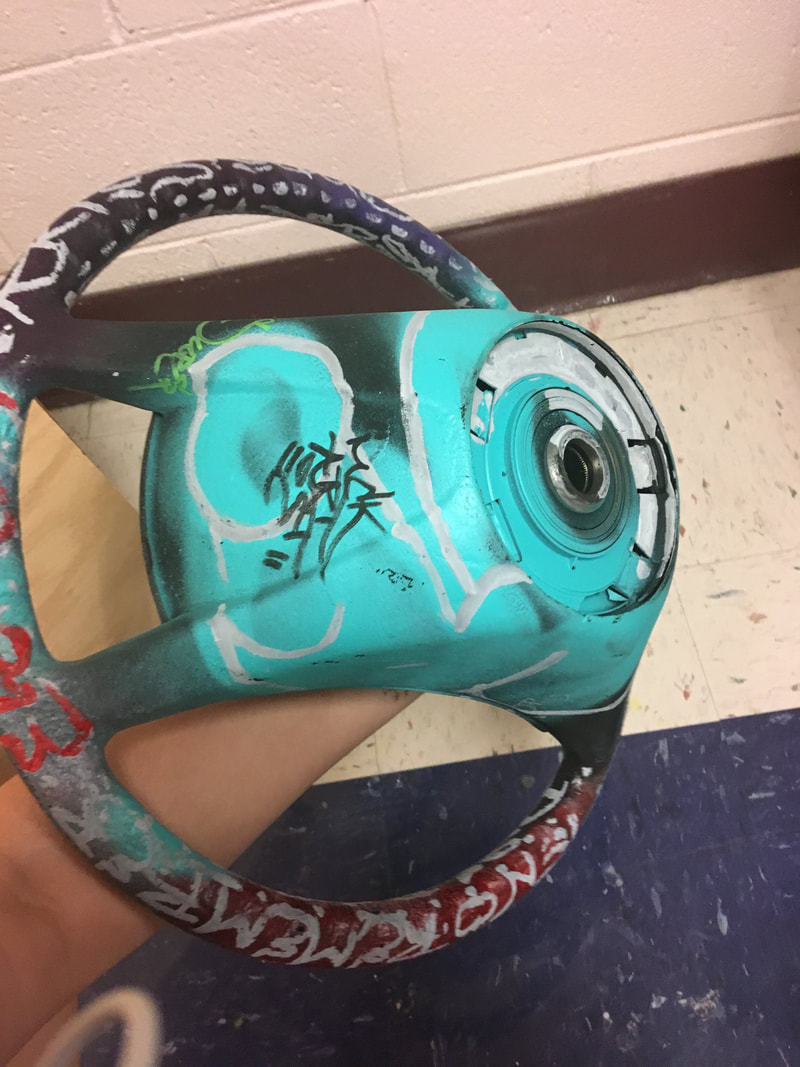
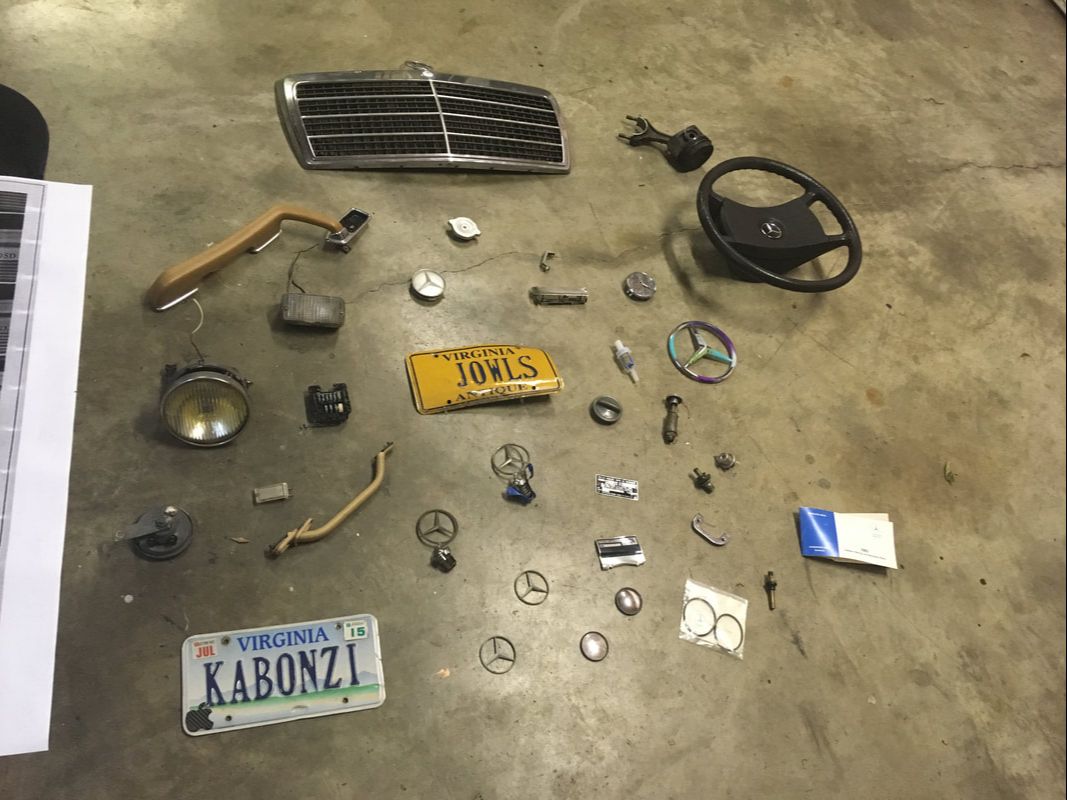
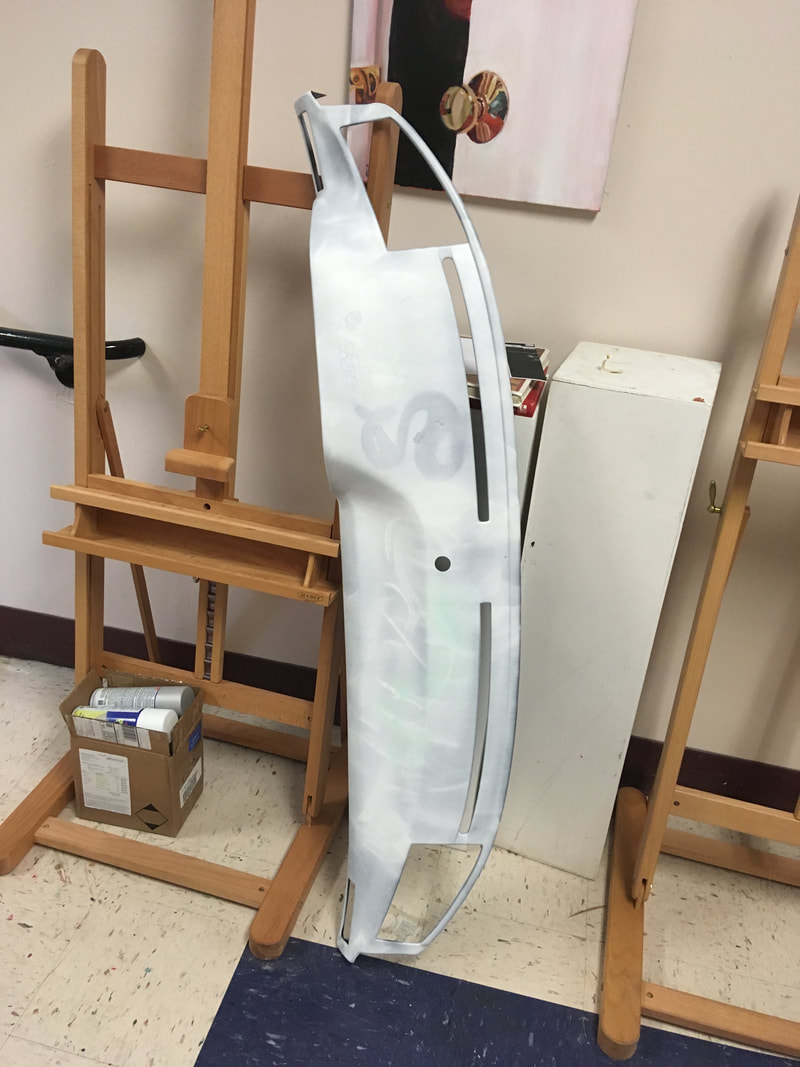
As for my home project, I am particularly excited to see how the different pieces will end up. Embroidery will take longer than I originally hoped for, so instead I'm turning to bleaching and paint washing parts of the fabric. I'm also not sure if the circles will go on a mobile or on a separate wall mount, but the securing factor should come by the end of next week. 10/19/2018 0 Comments Progress Post 3This week we worked with Tommy on our figure drawing skills. I especially liked the second day, where we were encouraged to add a few contour lines to our gestures, to make them look more finished. My longer sketches were not as good size wise and on the second day I was not able to use my favorite charcoal pencil, but overall, I think I was able to make progress towards my goal of improving my technical drawing skills. 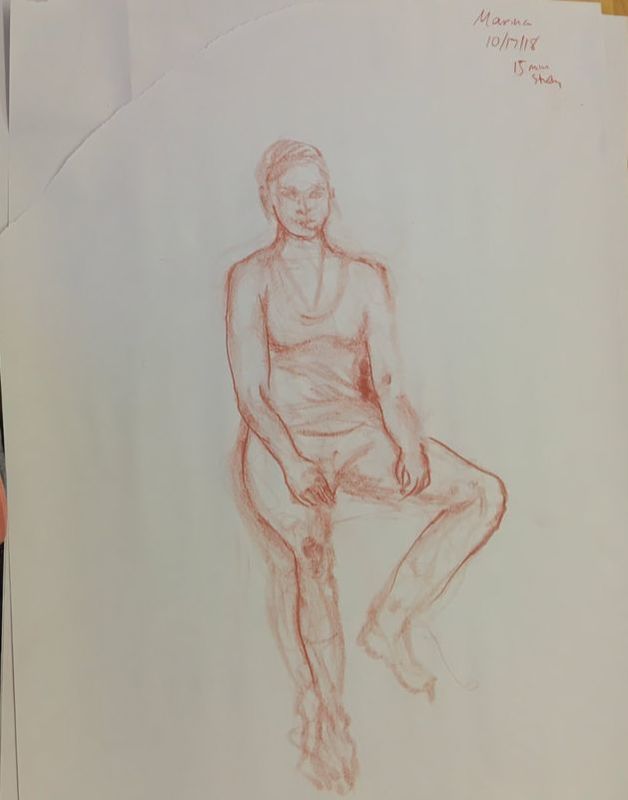 10/7/2018 0 Comments Progress Post 2 This week I finished my sculpture and had my first critique. I feel this piece was a good start to Art 4, and also started working on my next project. 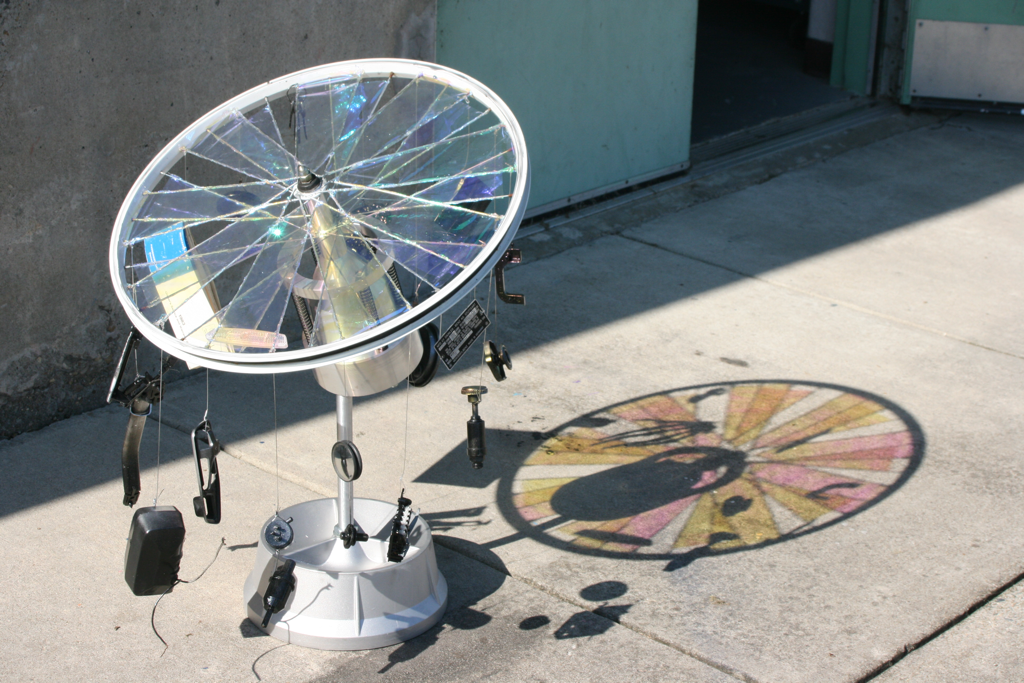 9/27/2018 0 Comments Progress Post 1After my summer project and last year's sculpture project, I still had a lot of spare car parts. I really wanted to make some type of mobile, but realized that the pieces would be too heavy to be suspended. My dad had a tire balancer, which was very interesting sculpturally as well, so I ended up suspending my parts on there. I found the rainbow sheen on the tire balancer an interesting component, and decided to spray paint the parts black with a metallic sheen in order to create contrast as well as tie together the whole piece. I also am going to add some prism sheet in the spokes of the rim, in order to incorporate some rainbow light on the piece. Overall, I really enjoyed making this work and hope to continue on with similar pieces in the future. Unfortunately, I have not been able to keep my website updated for these projects, so I just compiled all the pictures I have been taking so far into one post. I plan to have the steering wheel to be a base and the dash to be attached to the base by a metal pole, provided to me by Coach Hall. As for the smaller Mercedes parts, I am making a design of either my last name or Kabonzi that will be projected by the side of them. It has been a little hard to spray with the Plastidip as none of my caps can spray it, so the texture and cleanliness leave something to be desired, but other than that I got some sharpie oil markers that are really bright on the dashboard that I have been using. I think I only have a little more to work on the white side of the dash (spray paint) and I might use a paint remover to clean the overspray on the back a little. As for my home project, I will add some extra words after I am done using the overspray of the dash and the steering wheel, but I don't think I am going to do much about the grille, maybe one or two words spray and one or two marker words if I do. The day before everything is due I may attach some wooden dowels to the top and bottom to keep it flat. As for the steering wheel, I think i want to add another spray word layer on top of the markers as it is getting a little iffy, but then I'll be done. It has been a little harder working on the curves and thin parts of it because spray paint works better on a bigger scale. Maybe over the summer I'll finish the car detail part of the project. 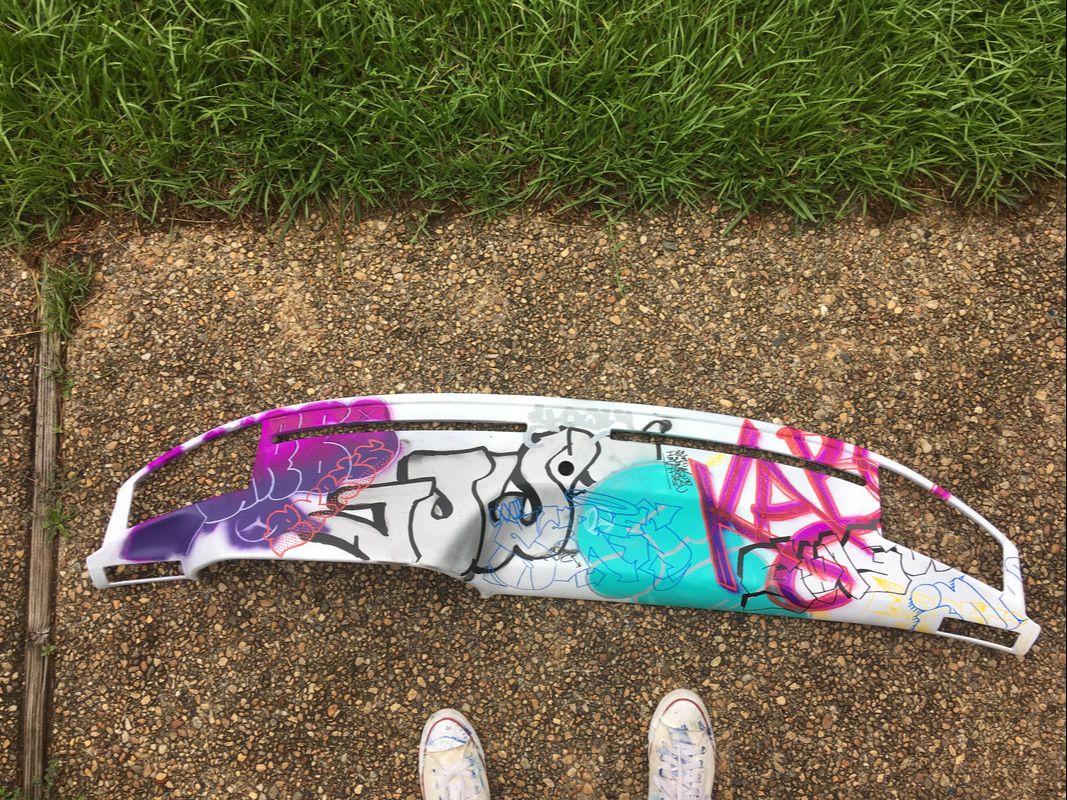 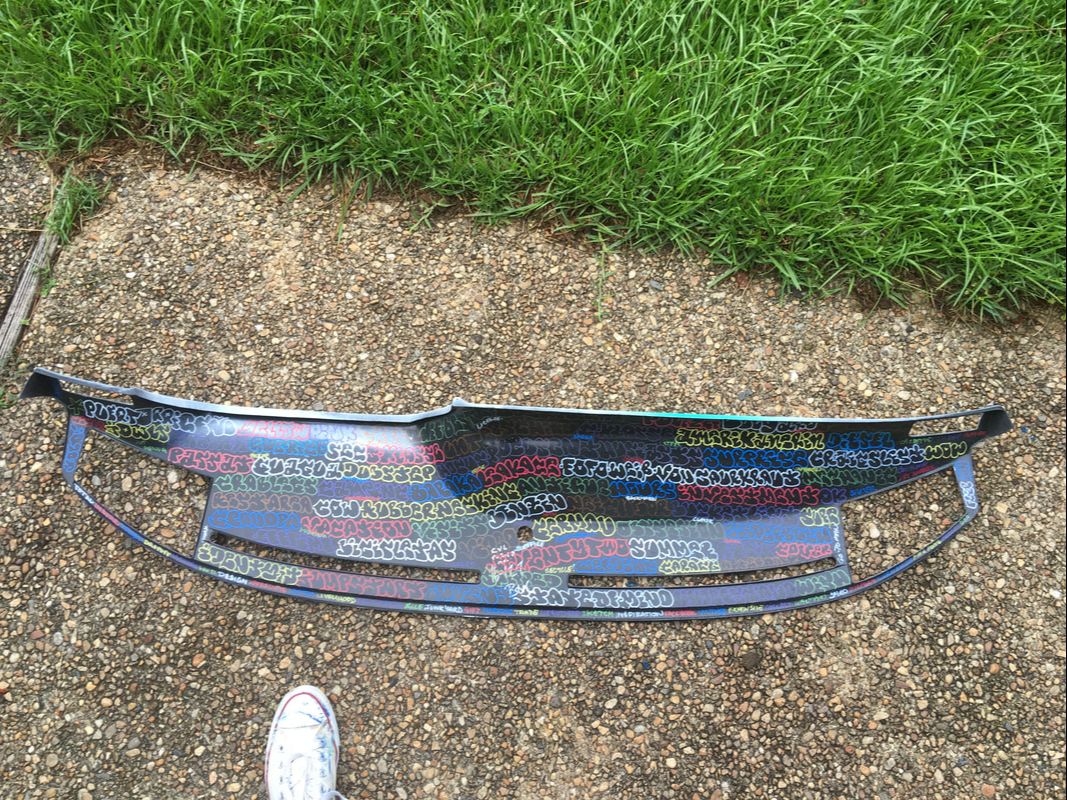 I've been working on my projects at home for the most part just because it takes time to set up at school and the sheer size and weight and fragility of my bases just make it easier to keep everything at home. I finished the back at home entirely.
I didn't originally consider the steering wheel as a base just because I wanted it to be displayed separately as the dash as well as the grille, but now seeing as how I most likely won't be doing much with the grille and this makes it easier to keep the sculpture condensed and easy to transport, I'll probably be using it as a base. 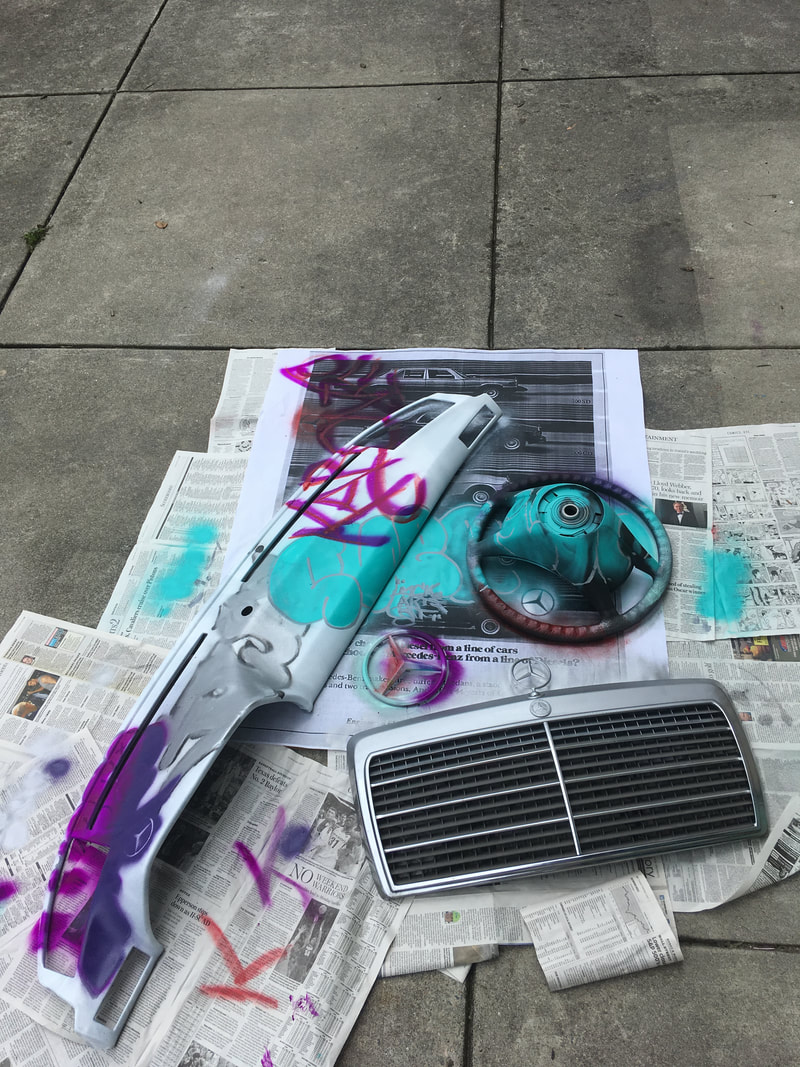 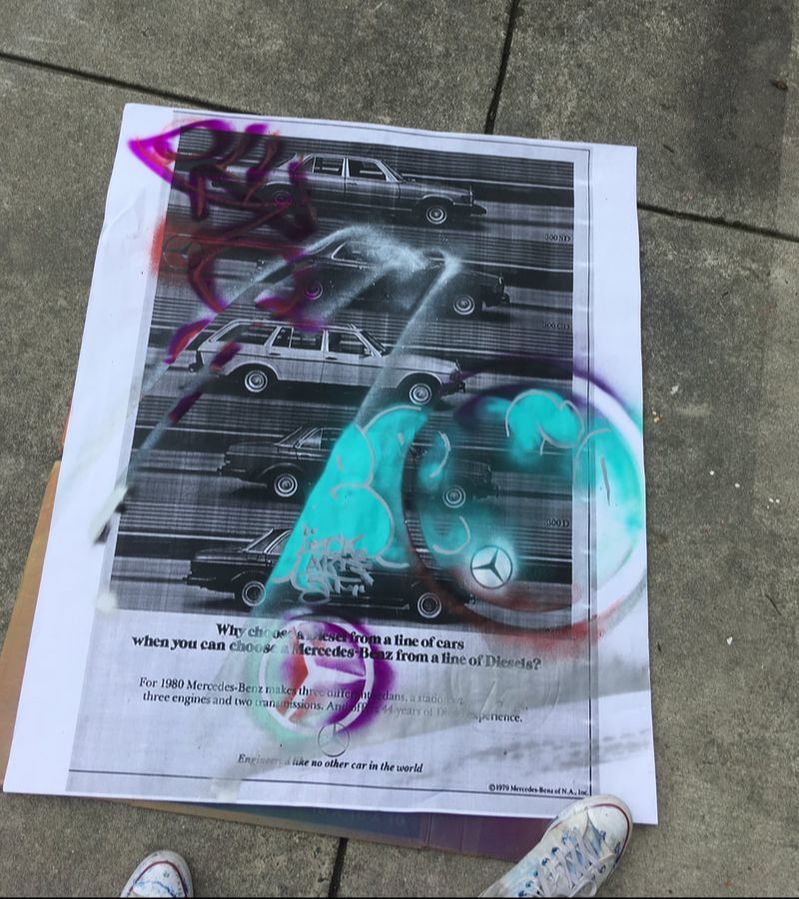 I definitely want to add more writing outside of the overspray, and in contrasting colors like those I got from the Sharpie Oil Markers
5/11/2018 0 Comments Progress Post #23We started our sculpture unit this week. I'm not doing balloon dogs as I planned using 2 spreads on my sketchbook, and am instead Plasti-dipping the bumpers and accents on a Mercedes 560 SEC. We were planning on doing the car anyway, but since I couldn't do the balloon dogs, I switched up my ideas. Now, I am also doing my Heart project as a huge printout of a Mercedes ad that will be graffitied on top. I'm excited to be working on such a huge scale with the printout, because I really wanted to do an ad as tall as a wall, but I wasn't sure as to how I would be able to, but now thanks to a blueprint shop, I'll be able to do it for cheap. So far this week, I have just been testing out my spray caps and picking the ads, so there is nothing to photograph. The plasti-dip arrived Tuesday and the dashboard (which I am doing in permanent graffiti (or maybe plasti-dip again) to further accentuate the car, from the inside. The dashboard is supposed to be my sculpture (Head part of the Head and Heart project), along with some sculpturally interesting pieces from the junk yard, but I haven't gone yet. Also, we already had an unattached Mercedes emblem, which I have been using as a test, that I will probably use as one of the sculpturally interesting pieces. Before I can do any painting however, I need to determining what words I am going to write and in which style, which is going to take just a little more research, but by next class I should start actually working. The colors I'm using are below, so I might buy some Montana paint markers in the same colors this weekend for smaller tags and details. 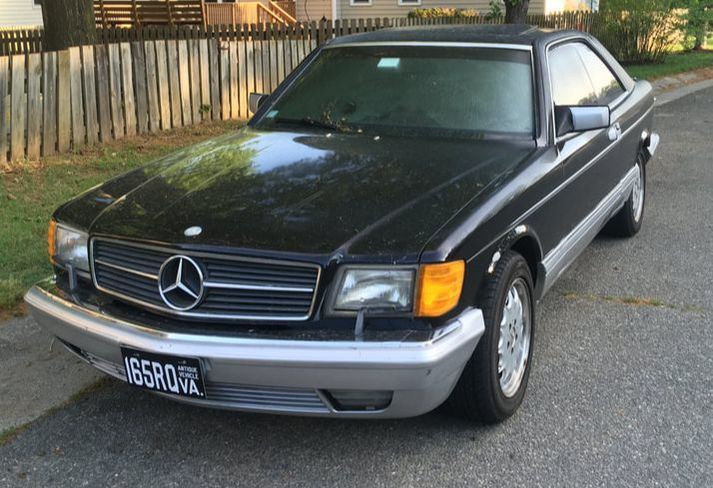 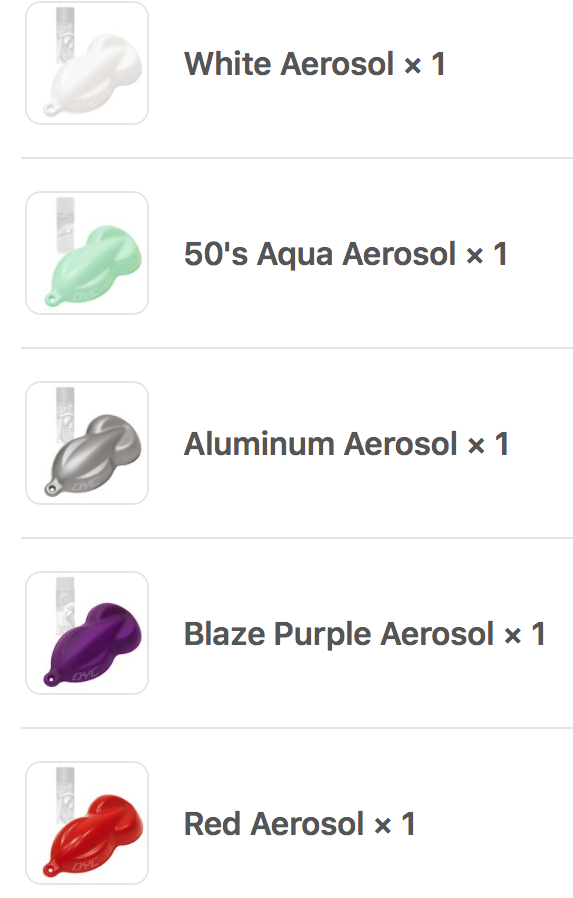 3/21/2018 0 Comments Progress Post #21Finished my home project: Xtreme RVA landscape challenge- create a painting inspired in some capacity by Richmond's landscape. These can be realistic, abstract or non-objective. Did mine based on a scene on E Main Street using various Google Earth Images and acrylic paint. I did it in three phases of painting (spread out) and after critique, I was told a similar thing as with my last painting: there are several different painting styles going on that don't necessarily go together, and that I should work on integrating the different parts together more. I'm looking forward to my next painting and will try to use this piece of advice I was given. 3/16/2018 0 Comments Progress Post #20This week has been a studio week, so I've gotten a lot of work done on my oil painting. I've been working on the landscape home project too, but I'll post all the progress shots at once when I'm done. I would like to keep oil painting in the future, but not so strictly realistic, more arbitrary I think. These progress shots have let me see where I should have/ would have liked to stop as well. So far, I really like the exposure to a new medium. 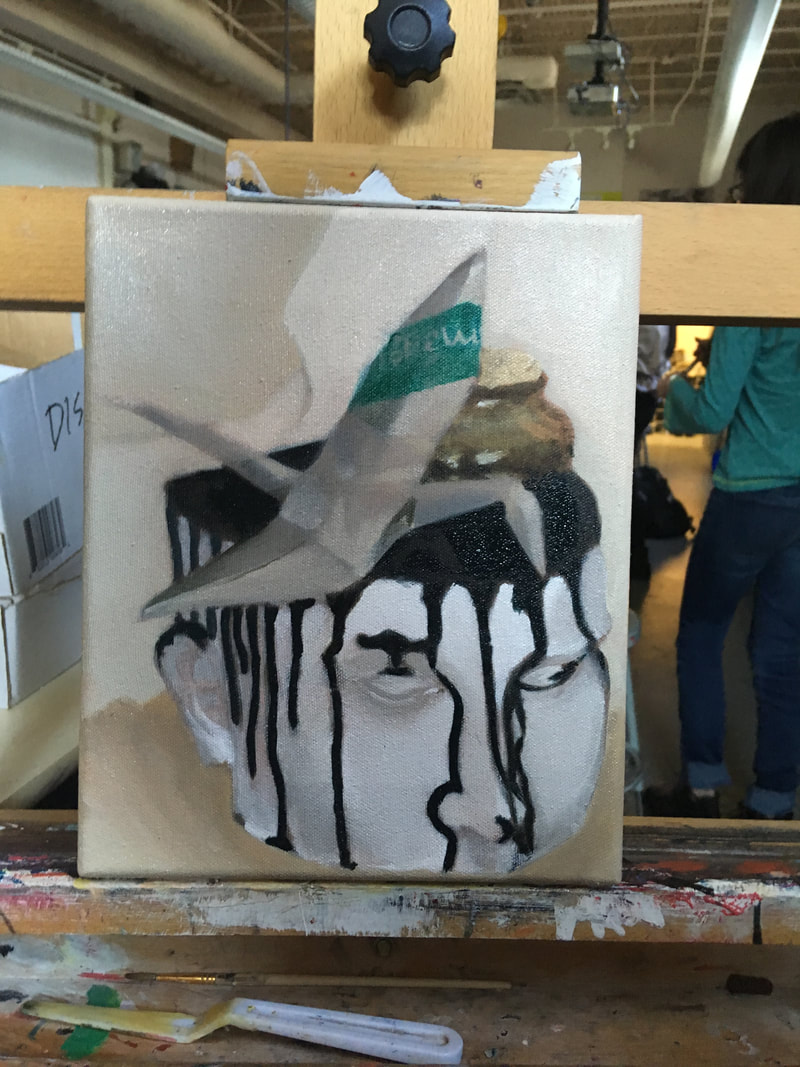 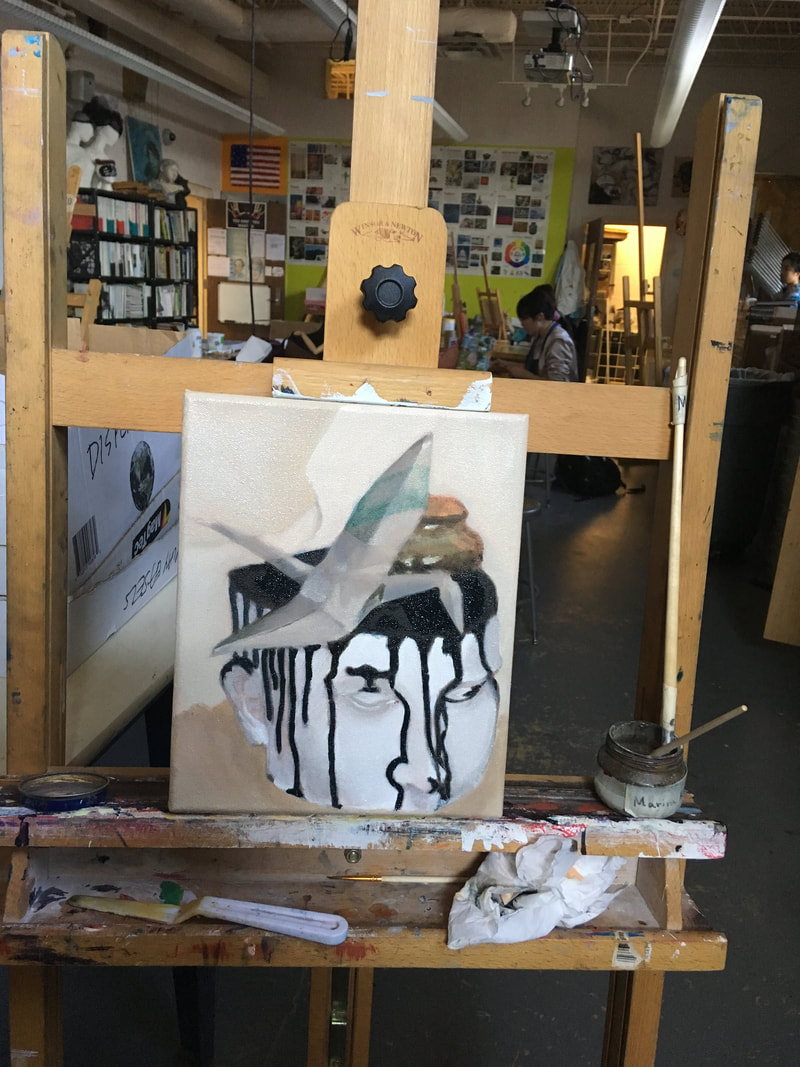 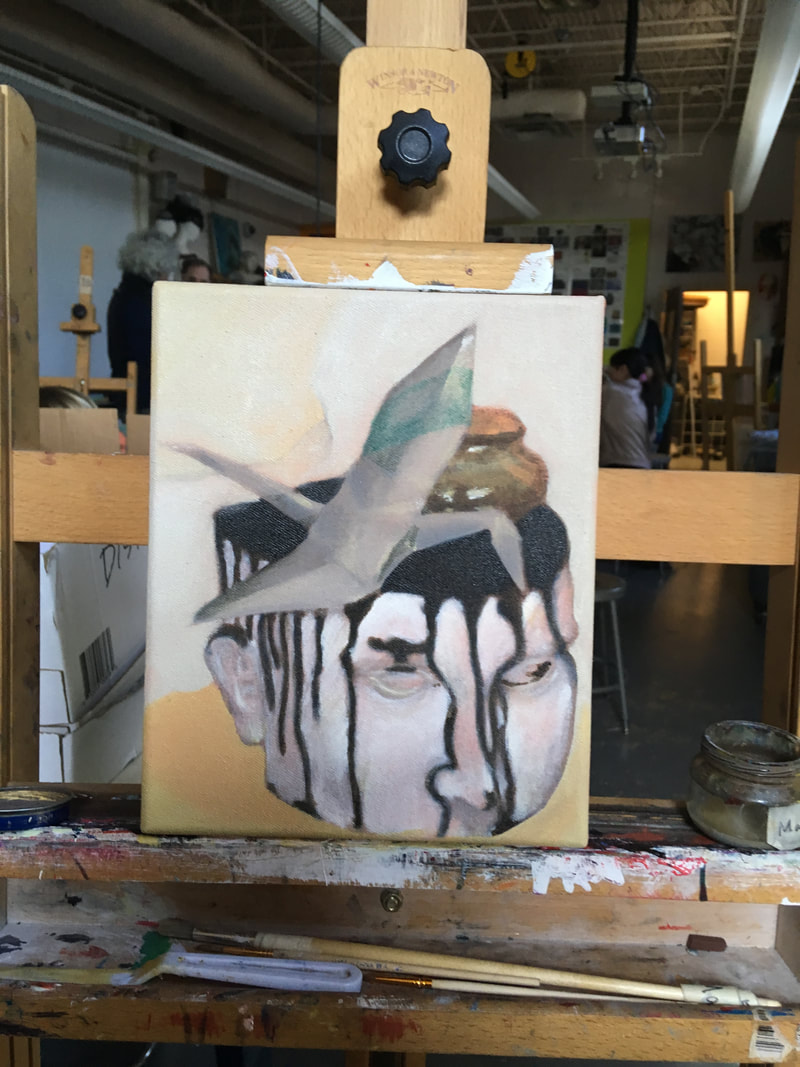 3/8/2018 0 Comments Progress Post #19It’s getting better except the brushes are a pain to clean and you can’t do the old whack it against the easel because the brushes are too small. Also, I’ve found that turpenoid and liquex or something are my friends. Mixing different colors is fun too, and I haven’t stained an article of clothing too bad yet. So far it’s interesting compared to acrylic because with acrylic it’s easier to make a mess but also easier to cover big spaces. With oil however, you mix the paint the way you want it and there is a more natural and controlled way about it. Or maybe it’s the fact that we’ve been painting in the “natural sunlight” (dark) and inhaling carcinogens that’s getting to me. 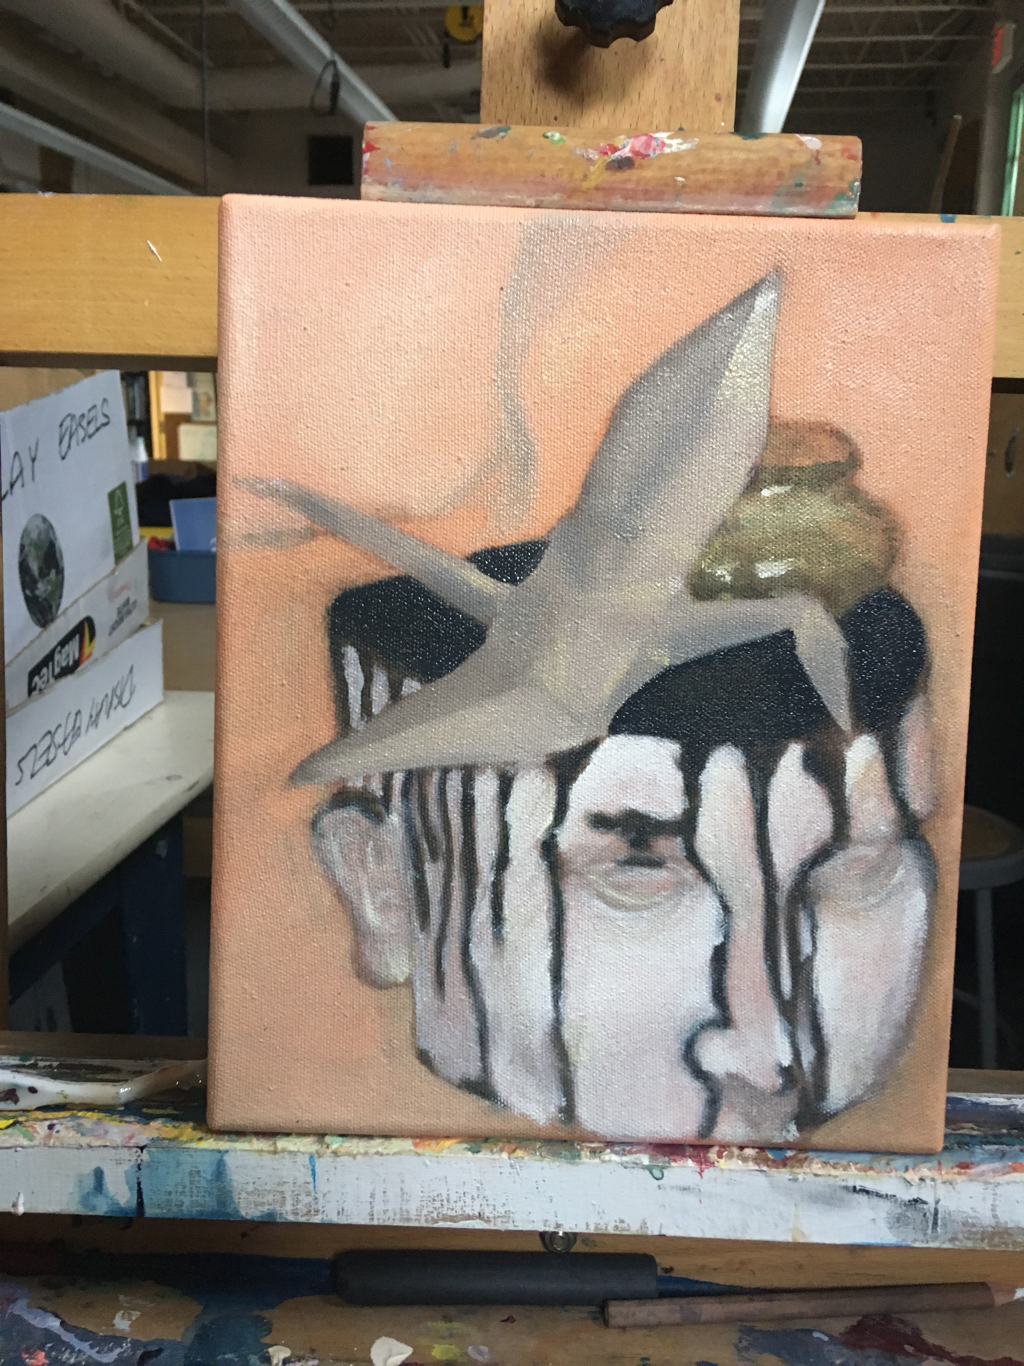 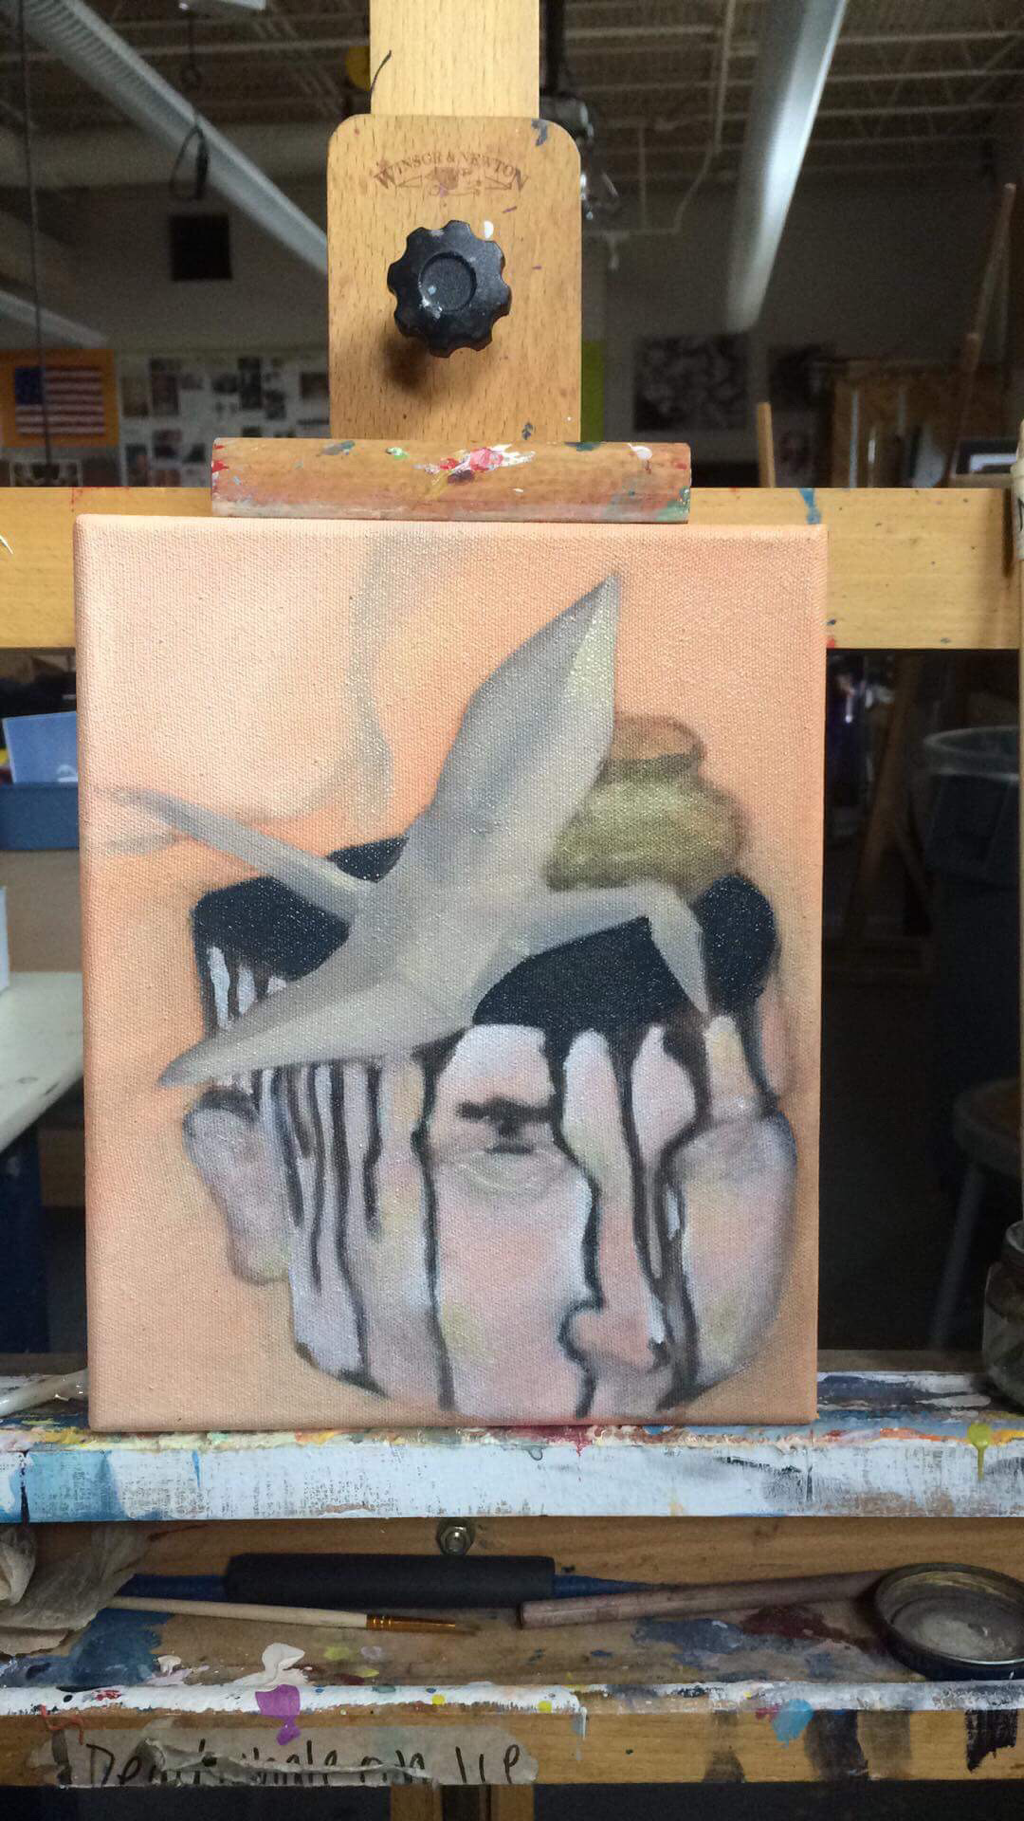 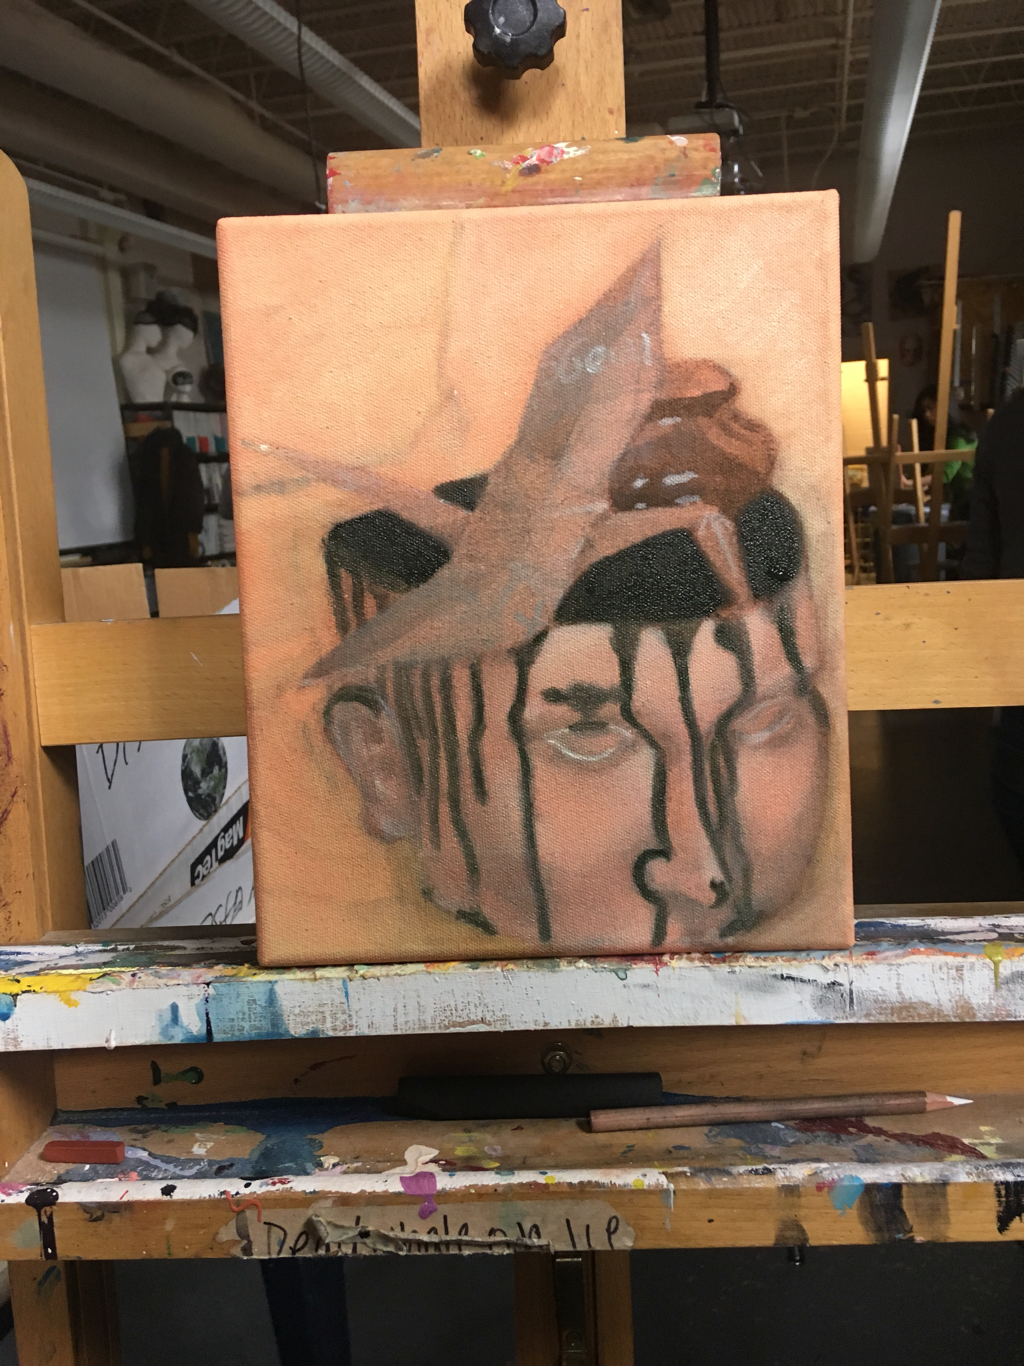 2/24/2018 0 Comments Vans WIP #1So the paint on these is really thick. I'm trying to get as much of it off to get a nice even white base coat on top. I've finished repainting one pair and am working on removing the paint of the high tops. I don't know exactly what I want to do with them; I don't know whether I want a basic repeating design or something unique. I'm also considering doing a pair that is based off of another artist's style that I really like and would like to see as a print. 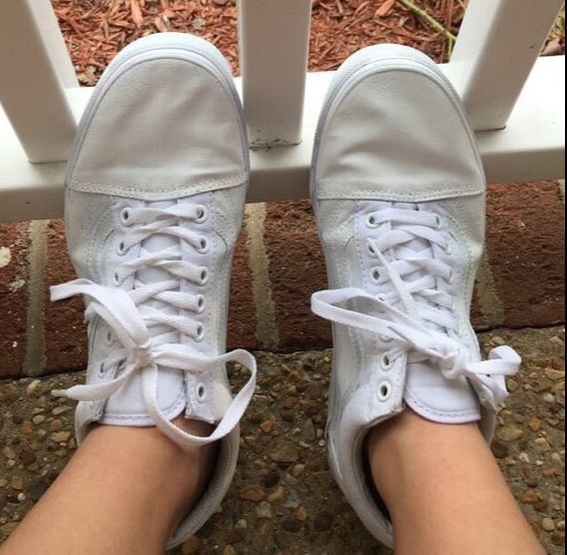 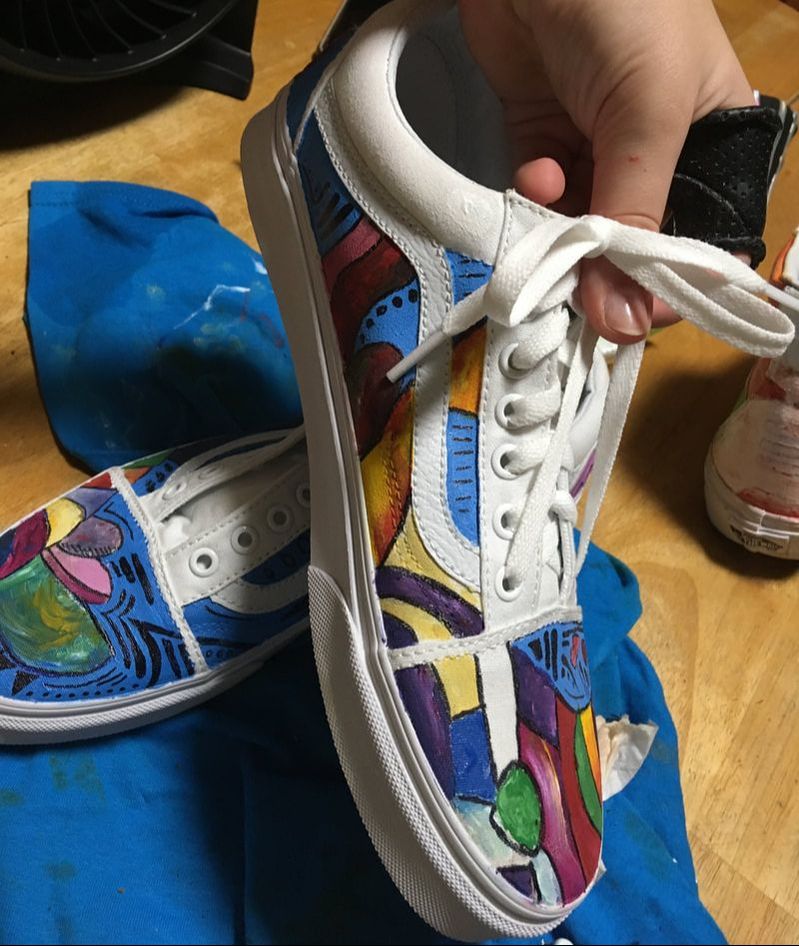 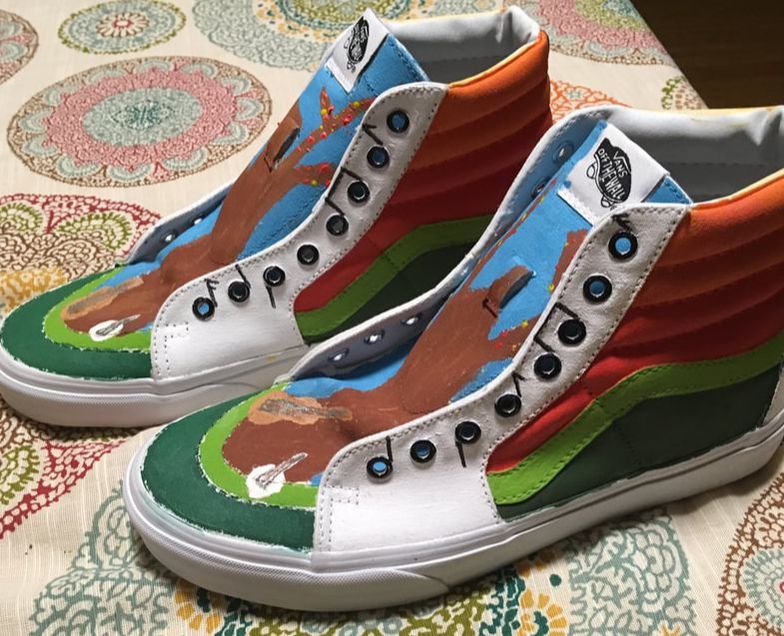 |